Refurbish a HP8175A
Both of the HP8175A’s have some issues. And that is to be expected when getting equipment which is from the 80’s.The first HP8175A I bought has the following issues which needs to be addressed:
-
- Replace the blown filter RIFA cap
- I noticed some heat-sinks on the processor board are loose
- The capacitors on the Power Supply board must be replaced
- General clean-up of the front panel and casing.The second HP8175A has the following issues:
- The keyboard panel is loose
- The capacitors on the Power Supply board needs replacing
On both of the machines I have to:
-
- Replace the blown filter RIFA cap
- Replace a leaking Nicad battety
- General clean-up of the front panel and casing
So to get these devices in a good running condition takes some effort. But without a Service Manual, this can be complex tasks. I searched online for the service manual for days but could not find any. Looking on Ebay the manual is also hard to find, and when a listing for a Service manual pops-up, the prices are in my opinion way to high.
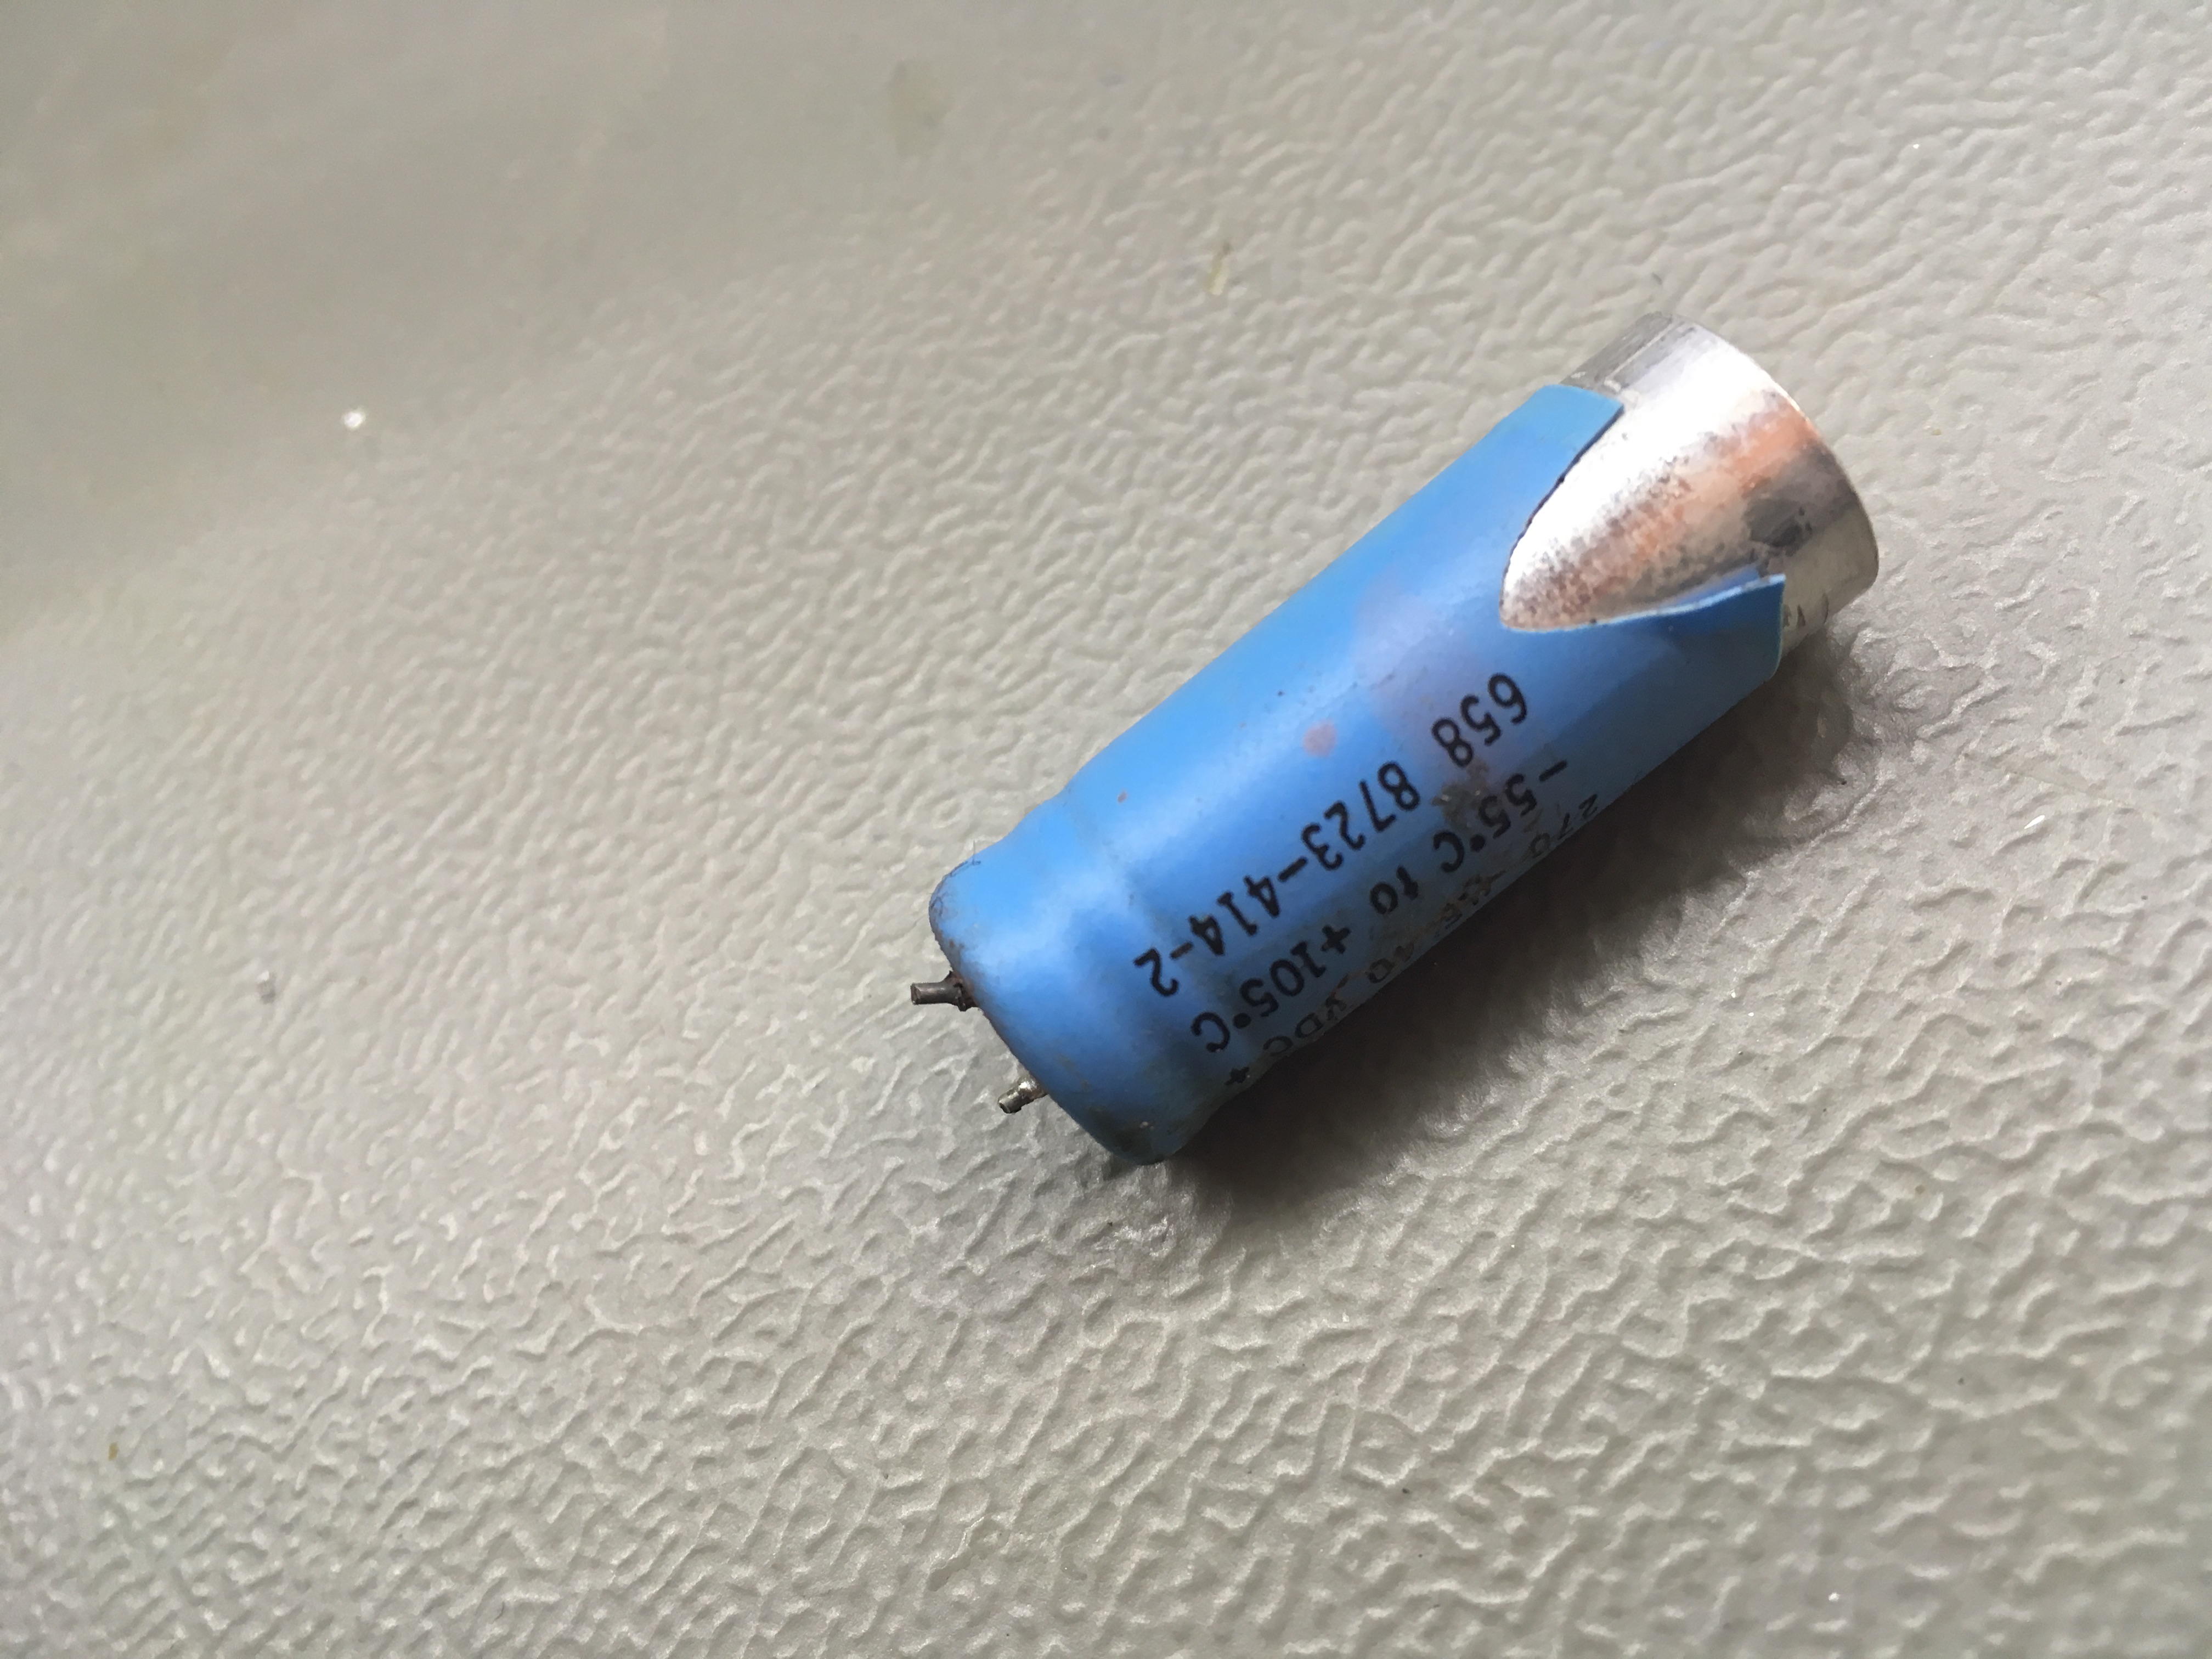
Replacing the capacitors
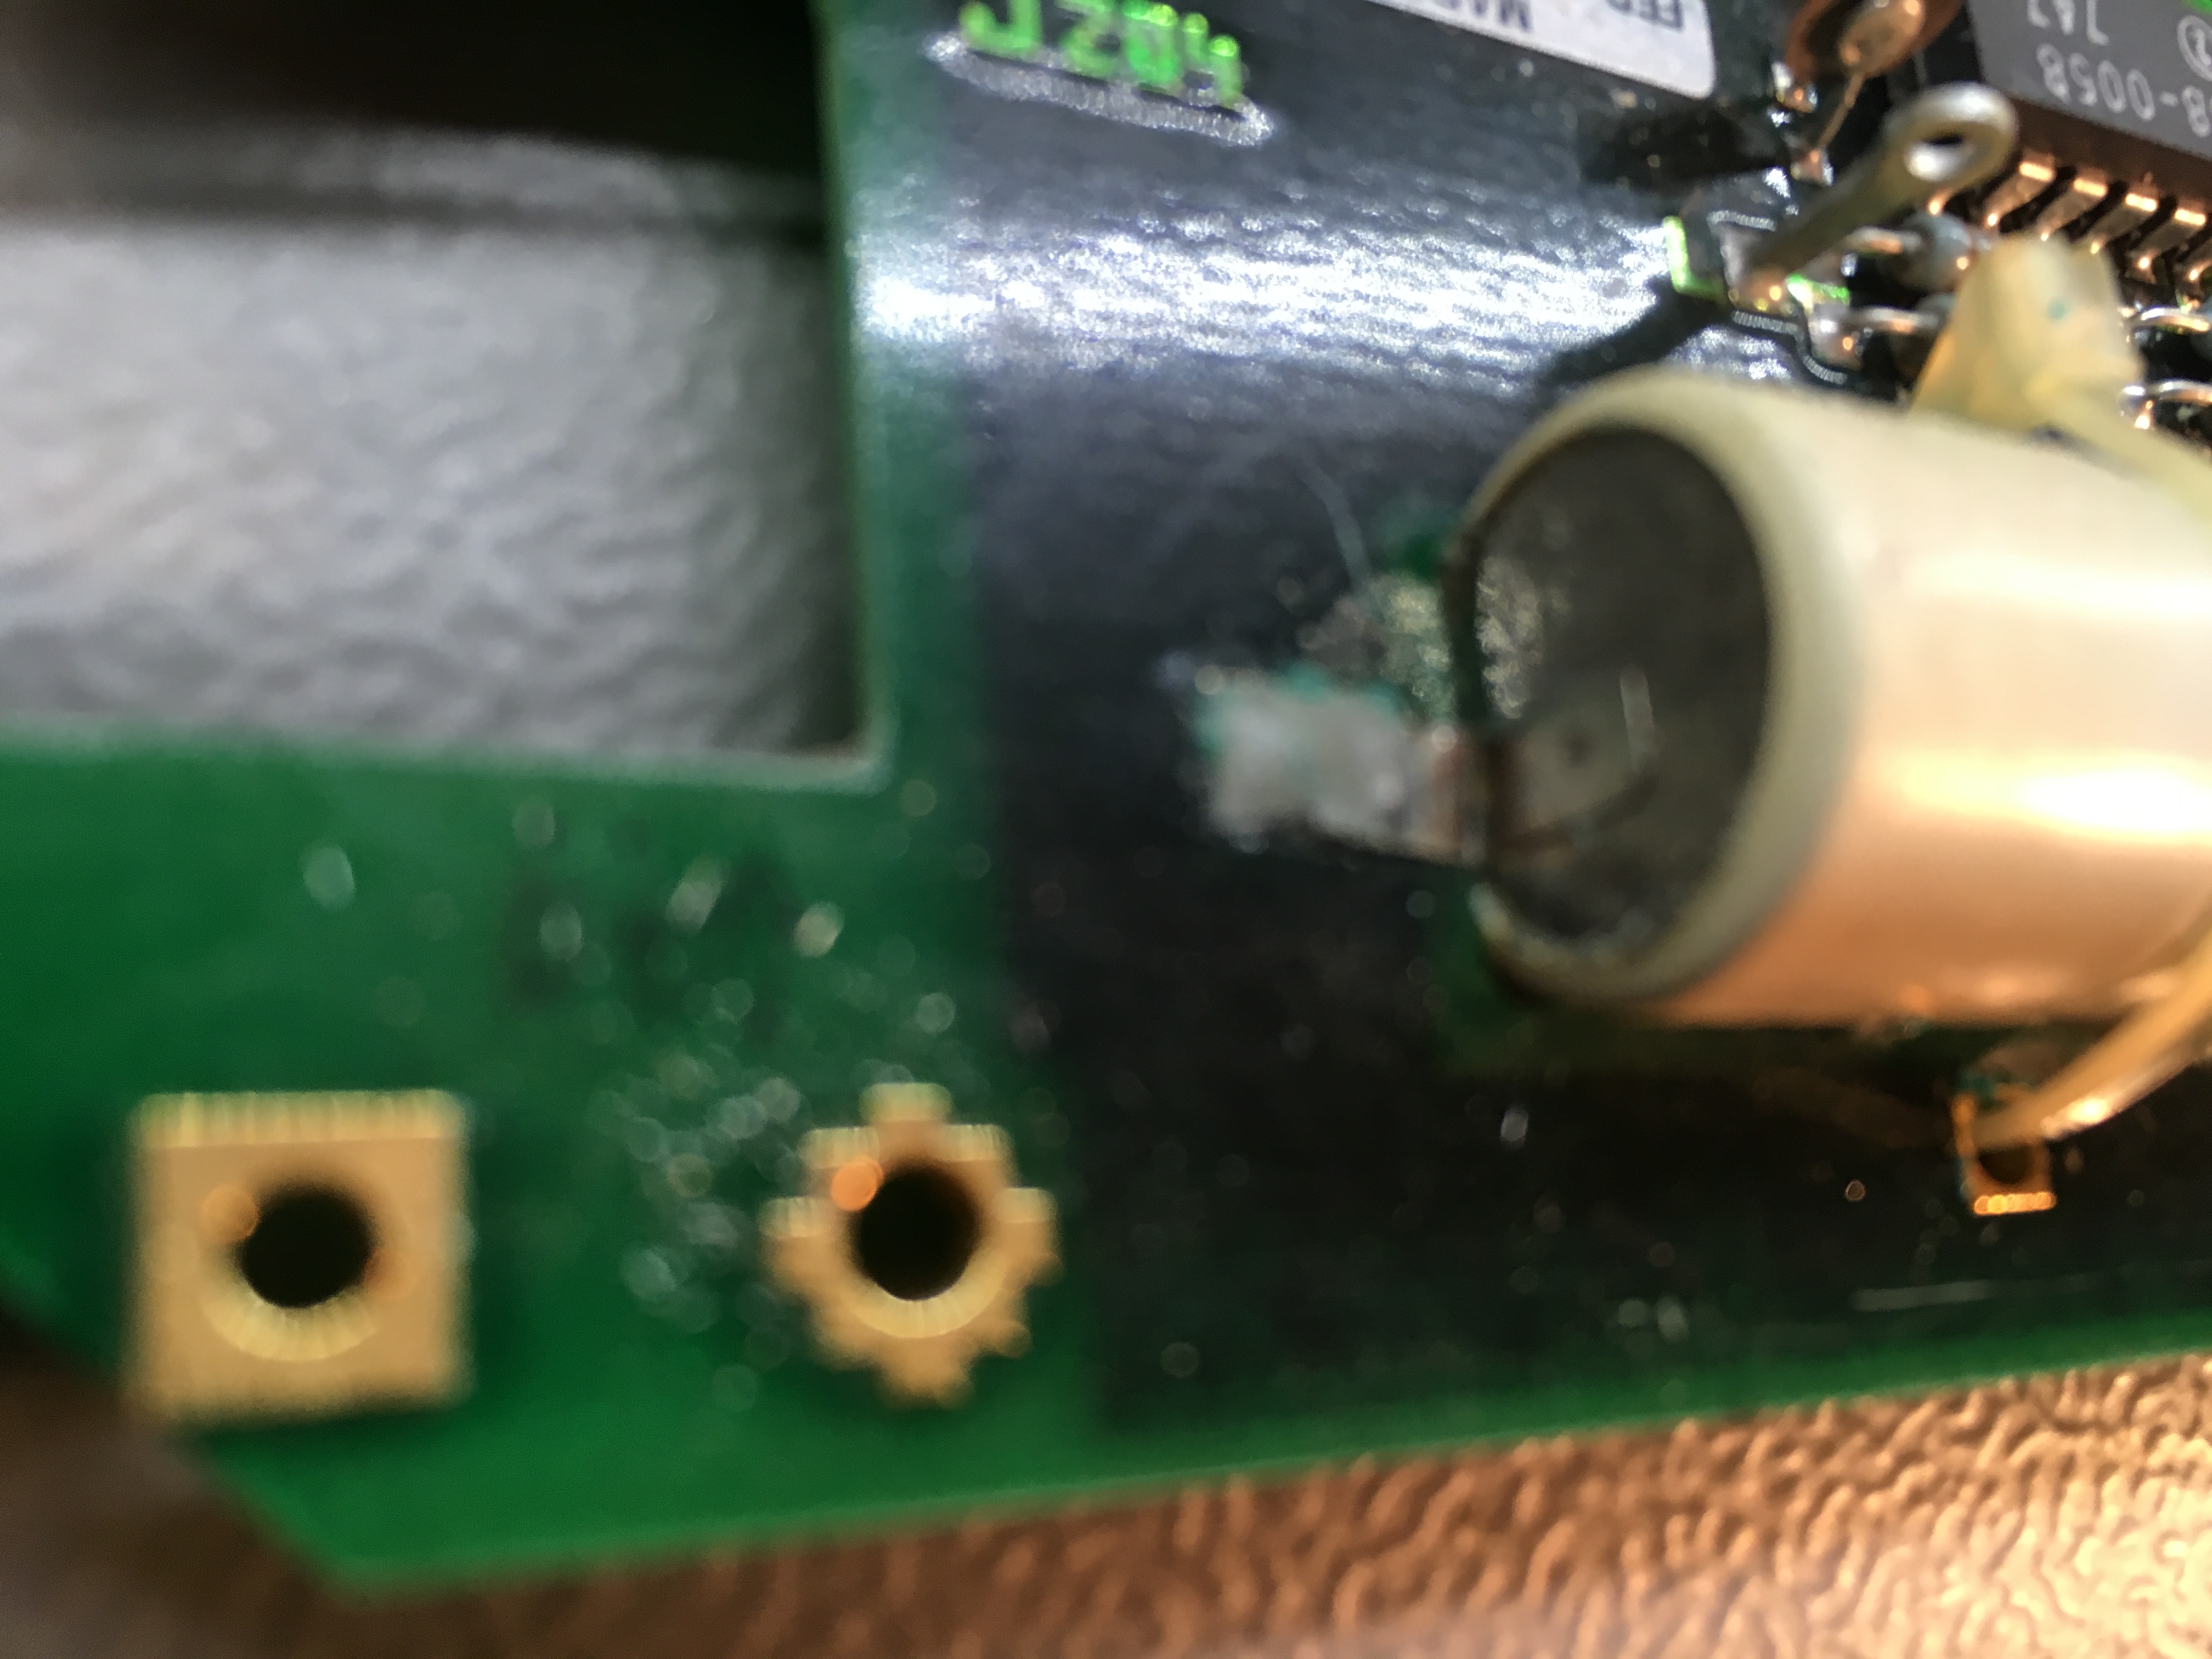
To be honest, replacing the capacitors can be done without a service manual. This however requires some thinking ahead. The silk screen on the board doesn’t list the polarity of the caps. So a good practise is to take detail photographs of the Power board. Some of the caps are hidden under heat-sinks, so it’s difficult to take a good picture.
What I ended up doing is to replace the caps one by one. So de-soldering one cap, put it aside, making sure I write down the polarity, and place the capacitor besides the PCB in the same orientation it came from the board.
Also before ordering the capacitors, make sure to get the right sizes, so they actually fit on the board. Here is the list of the capacitors I replaced (per device):
-
- 4x 270uF 40VDC lead spacing 5mm
5x 470Uf 25VDC lead spacing 5mm - 1x 330Uf 35V lead spacing 5mm
- 2x 1000Uf 200VDC lead spacing 10mm (snap-in)
- 2x 5600Uf 6.3VDC lead spacing 10mm (snap-in) Note: these capacitors aren’t replaced.
- 4x 270uF 40VDC lead spacing 5mm
I also soldered in the replacement for the RIFa cap: which is a 250V 0.022uF Y2 cap.
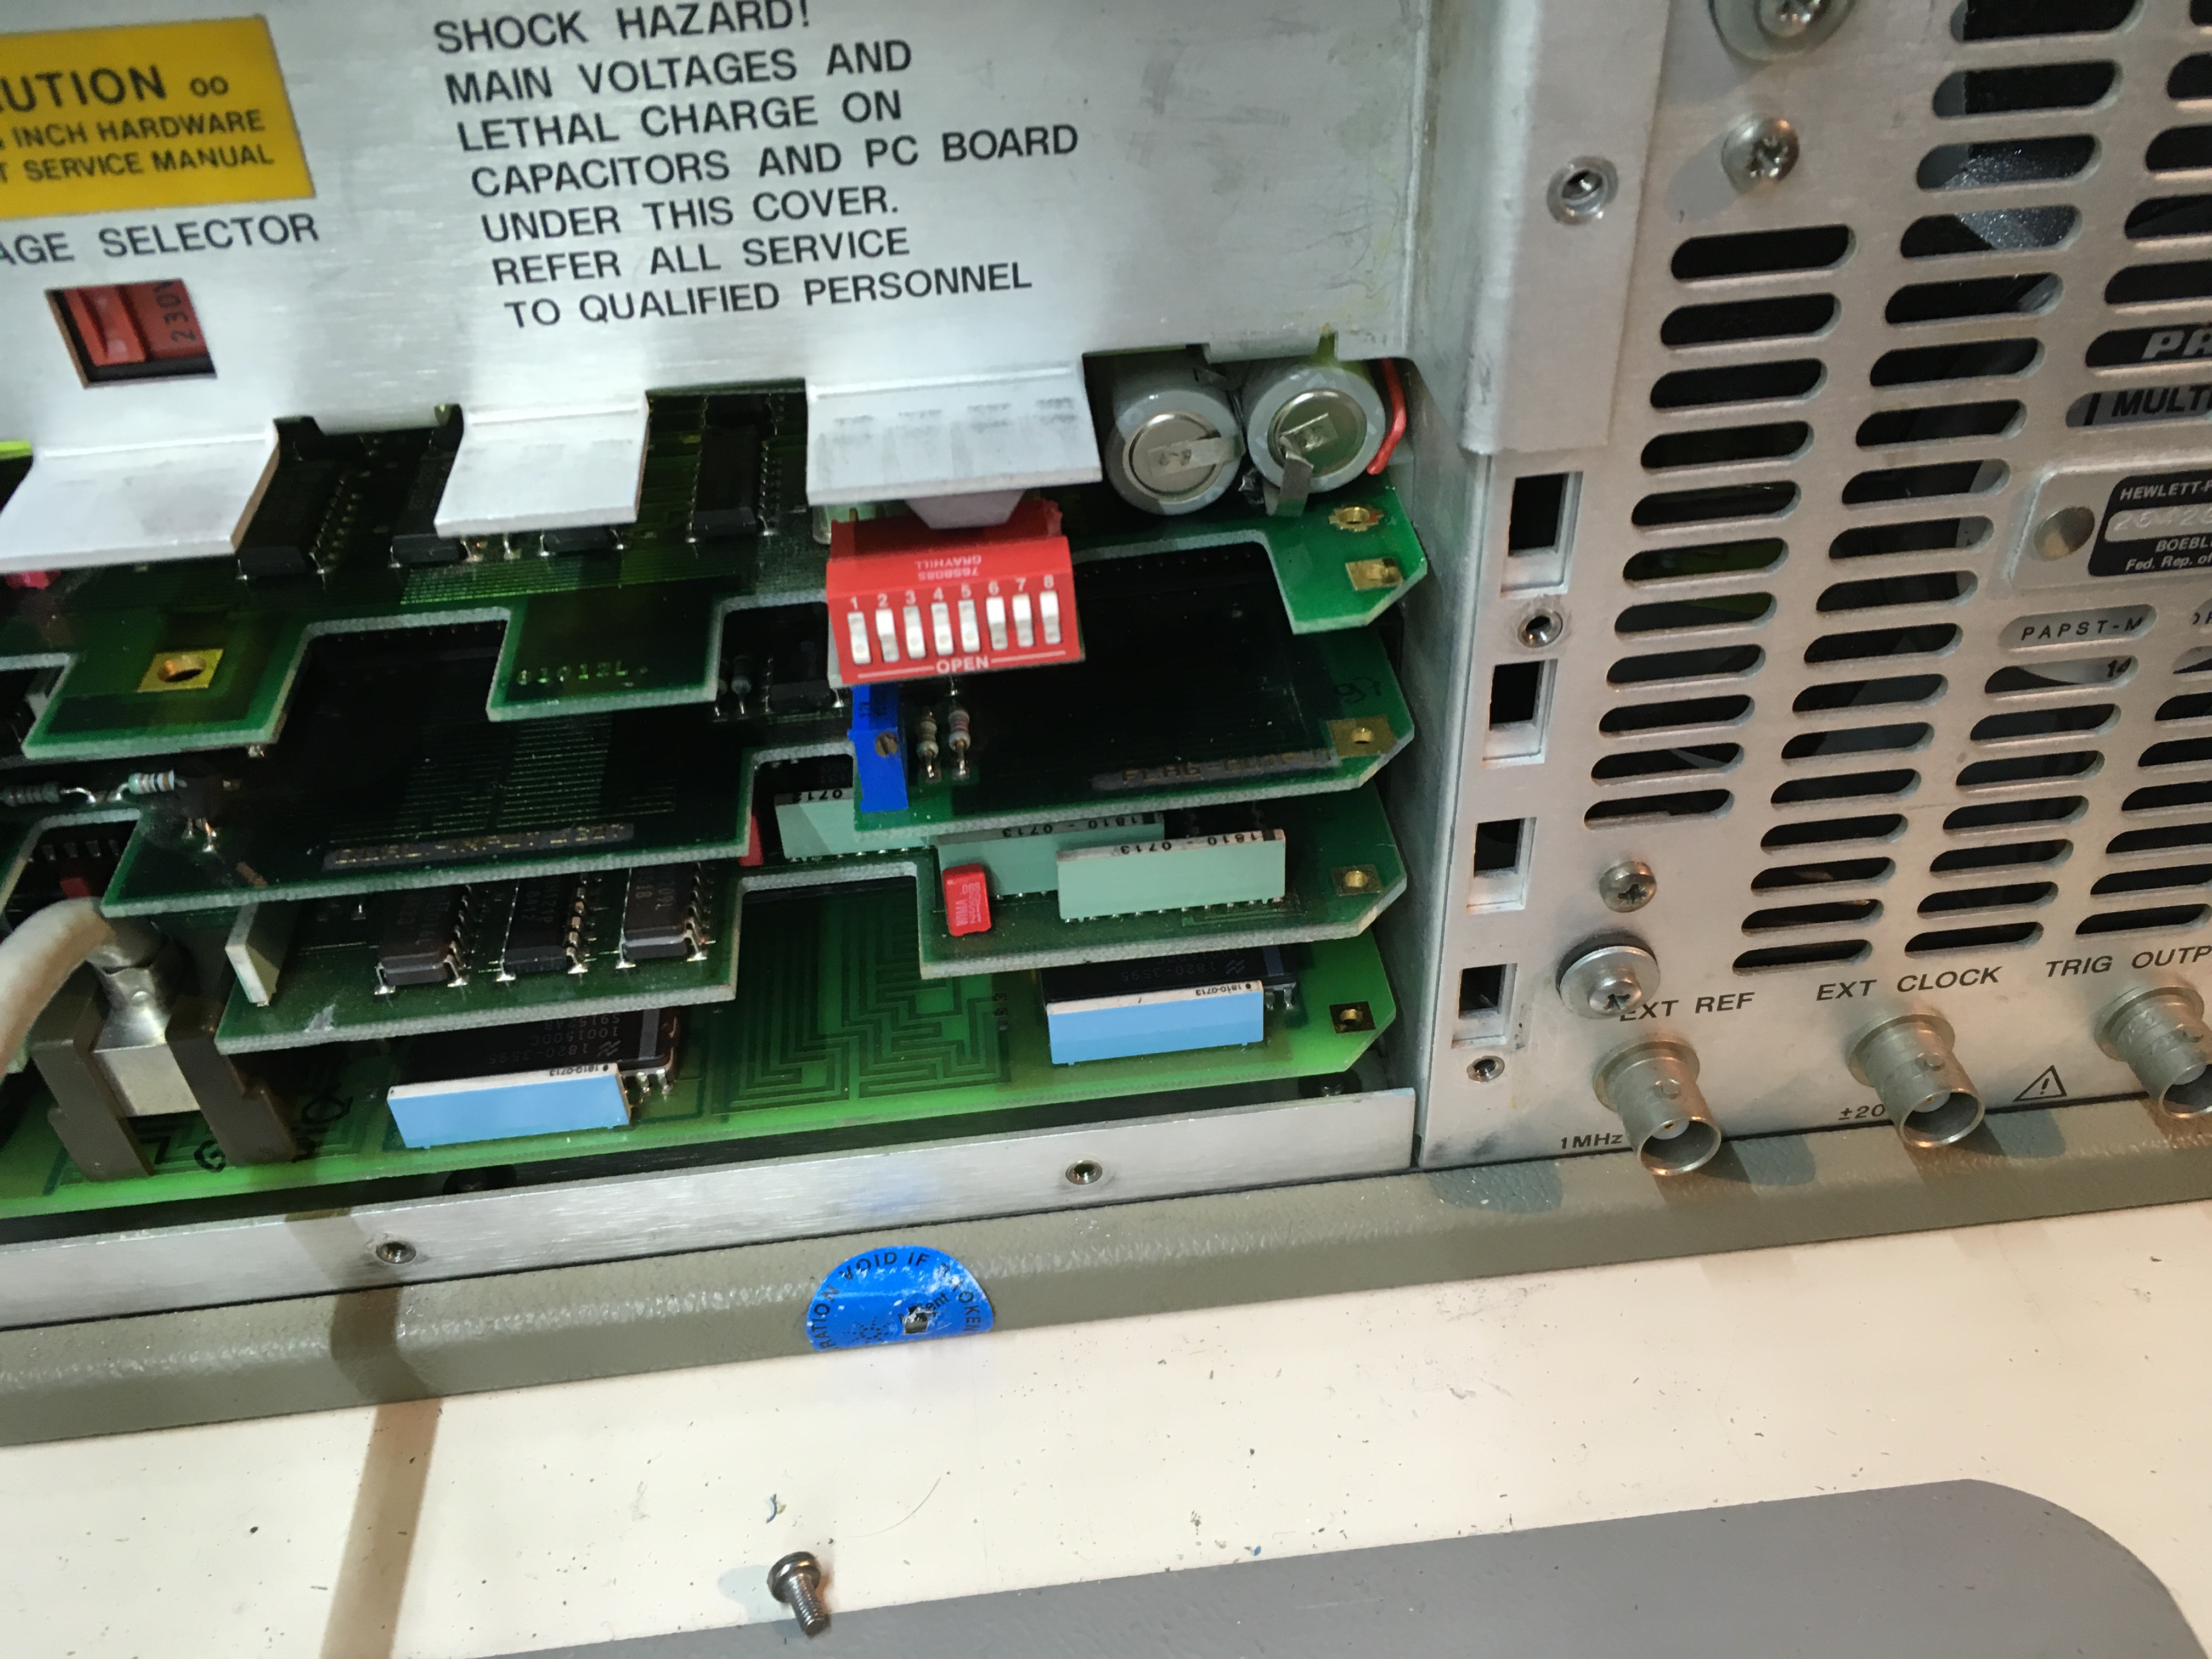
When replacing capacitors, or working on Power supplies: Know what you are doing. If you don’t feel comfortable working on PSU’s which can have high voltages in them, then don’t mess around with them. Always make sure to discharge any capacitor. Some capacitors may hold a lethal charge!
Testing after the capacitors are replaced
Once all the capacitors are changed, time to test if everything works. Before replacing the power board I double check the polarity of the capacitors. And I Also recheck the voltages and capacitance. Just to make sure every capacitors is replaced by the correct one.
And Again things go boom!
 Once every thing is checked I applied the power.. and a loud hissing noise, a bang.. and another capacitor exploded. After a quick inspection I find out that a capacitor on a board for the FANS had exploded. Luckily this is a 270uF 40VFC cap, which I got in stock, so I replaced the capacitor.
Next I had to figure out why the capacitor has blown. As it turns out I misaligned the connector for the fans, causing a short. After I placed the connector correctly I powered the HP8175A on again. The devices works! However I noticed the fans are now spinning at a high speed. Telling me there is some damage on the fan PCB.
And that is bad news. HP (but others like Tektronix ) like to use their own part numbers. So it’s really hard to tell which IC or component your dealing with. Having a Service Manual, with a part number reference table, and / or the schematic of the board would be very helpful. Unfortunately for this device the manual is hard to get.. or is it ?
Getting the Service Manual
Looking around the Keysight website I noticed I could send a support request. And so I did. I aksed for the Service Manual, and a few hours later I got a reply e-mail, with the requested service manual attached. So after all it was quite easy to get the service manual, and of course a big thank you to Keysight!
Getting the fans working again
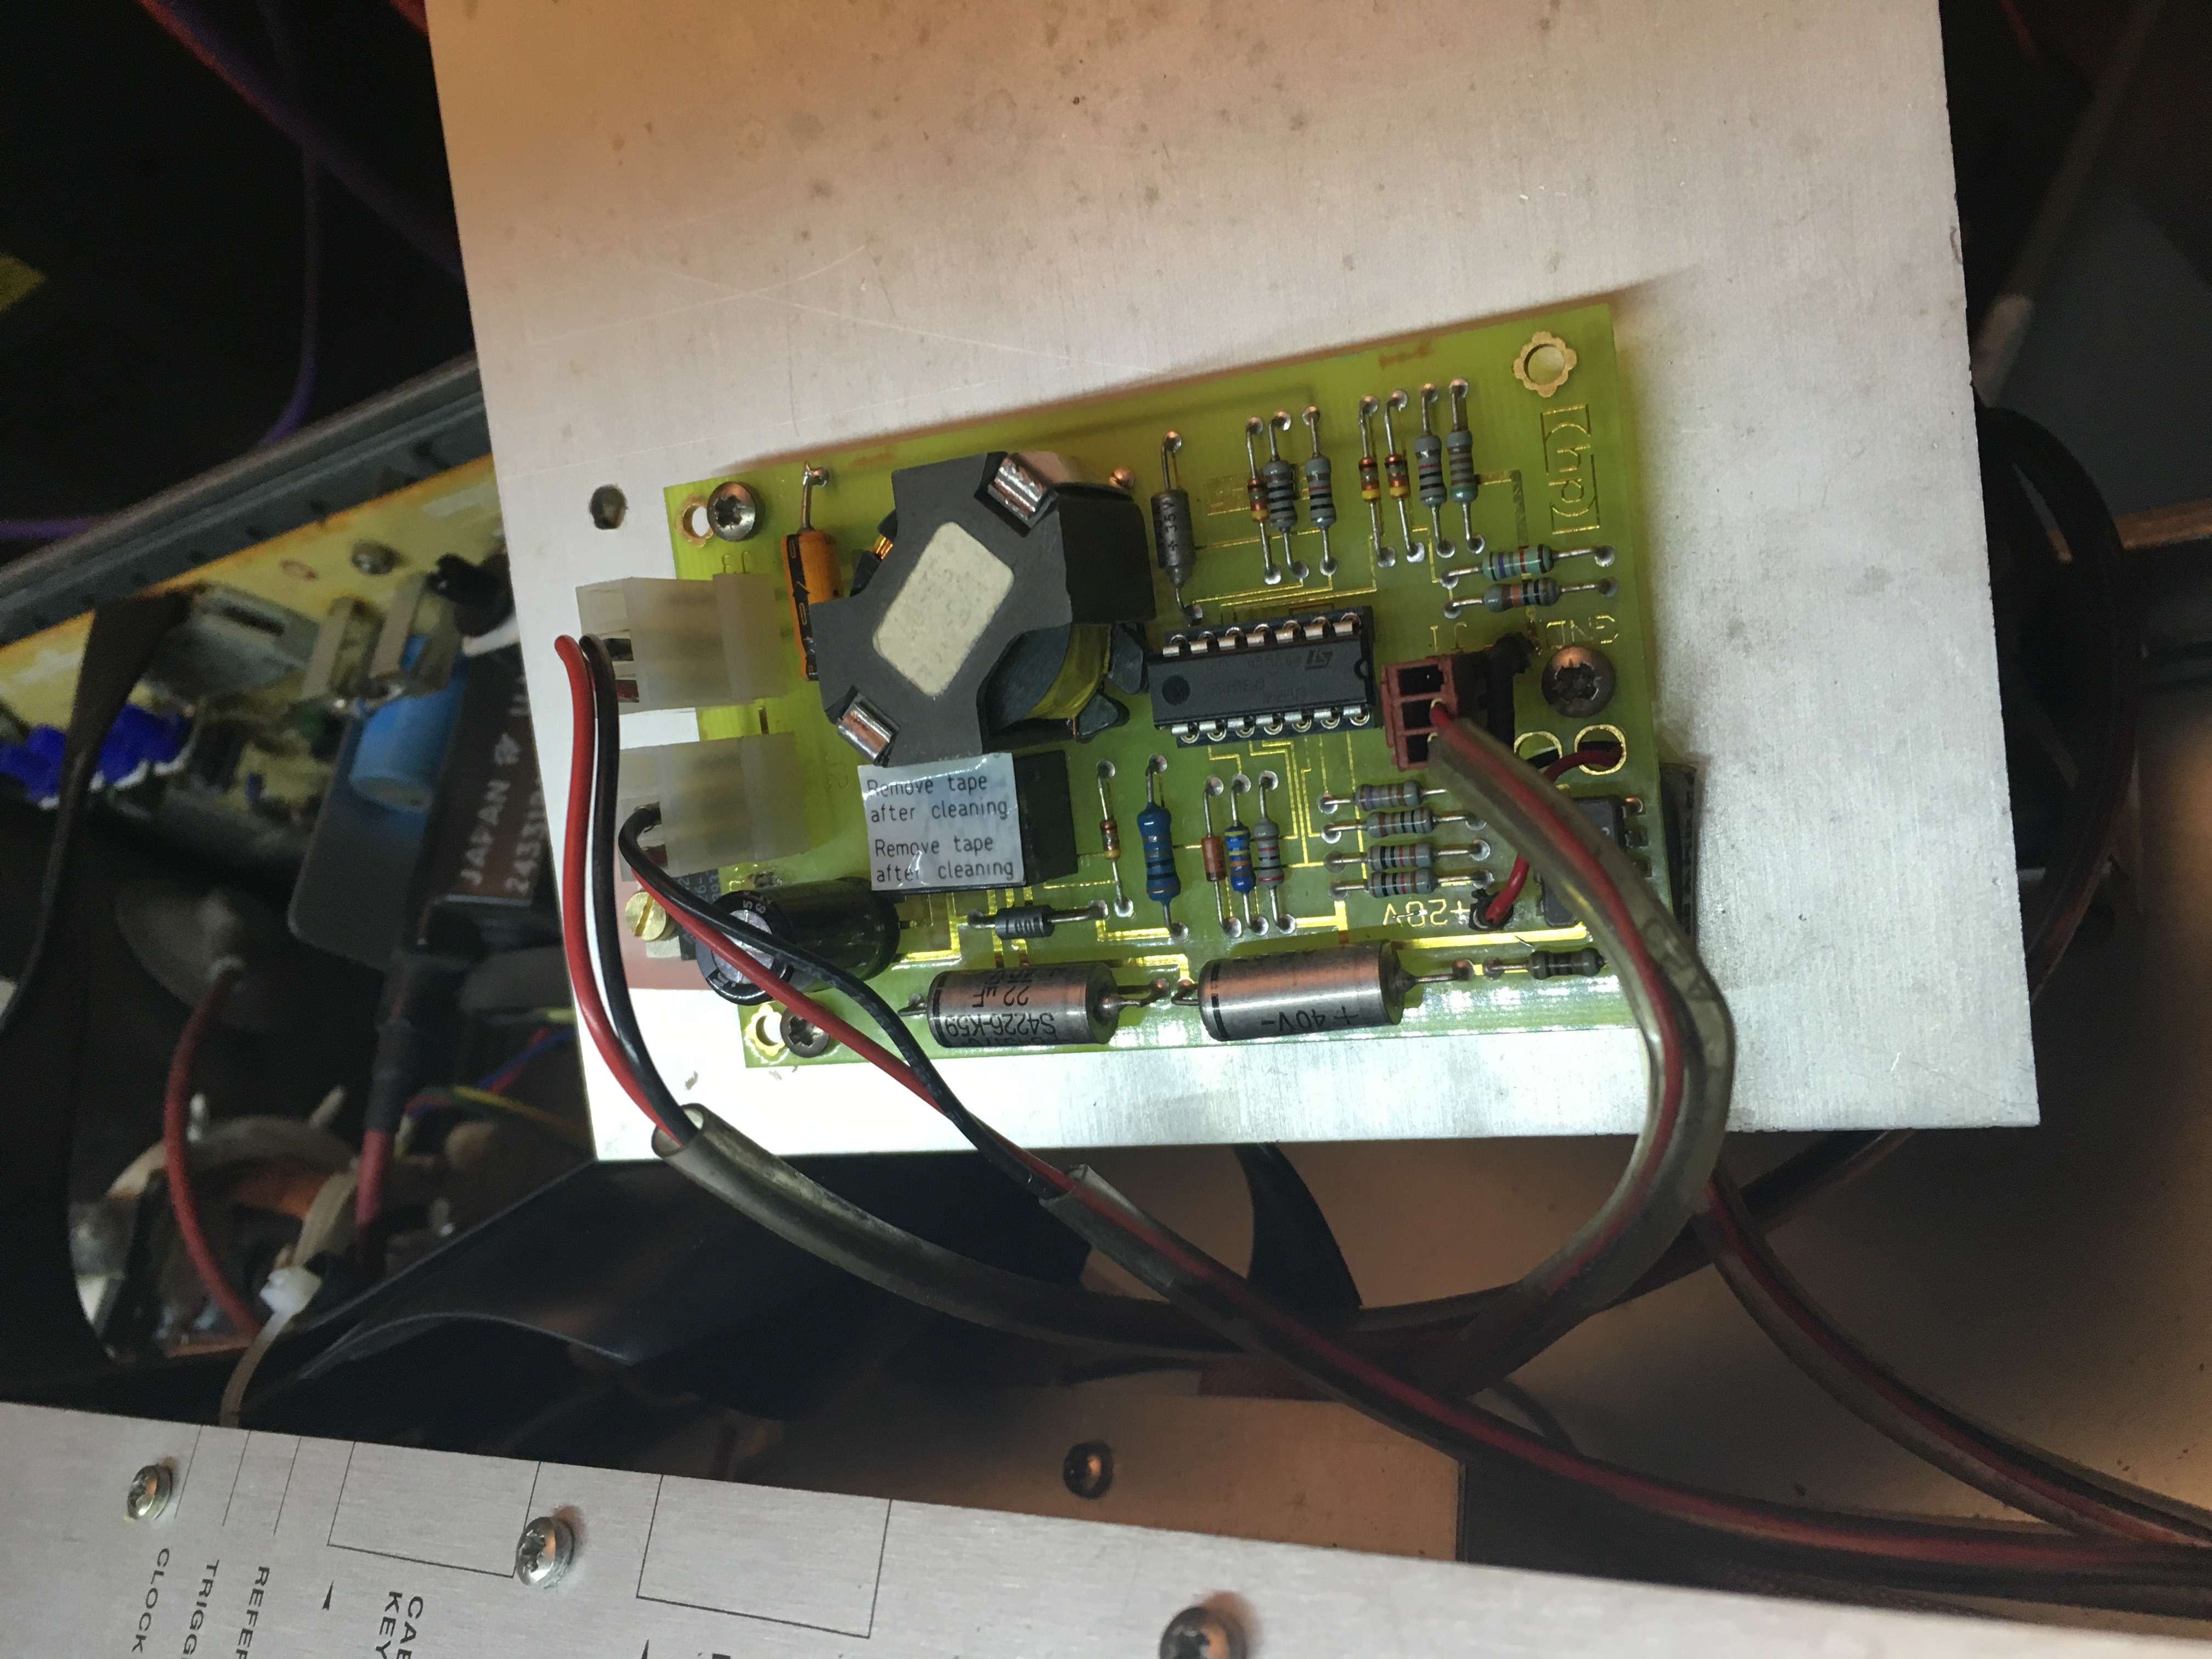
The service manual has no reference to a fan PCB board. Which doesn’t surprise me. The other HP 8175A doesn’t have this board installed, and the power board is a slightly different. Both of the fans are directly connected to this power board. But I was able to get the part numbers and as I suspected one of the IC’s is an opamp a LM324. And after replacing the opamp the fans working again, that is: they run at a much lower speed, being temperature controlled again.
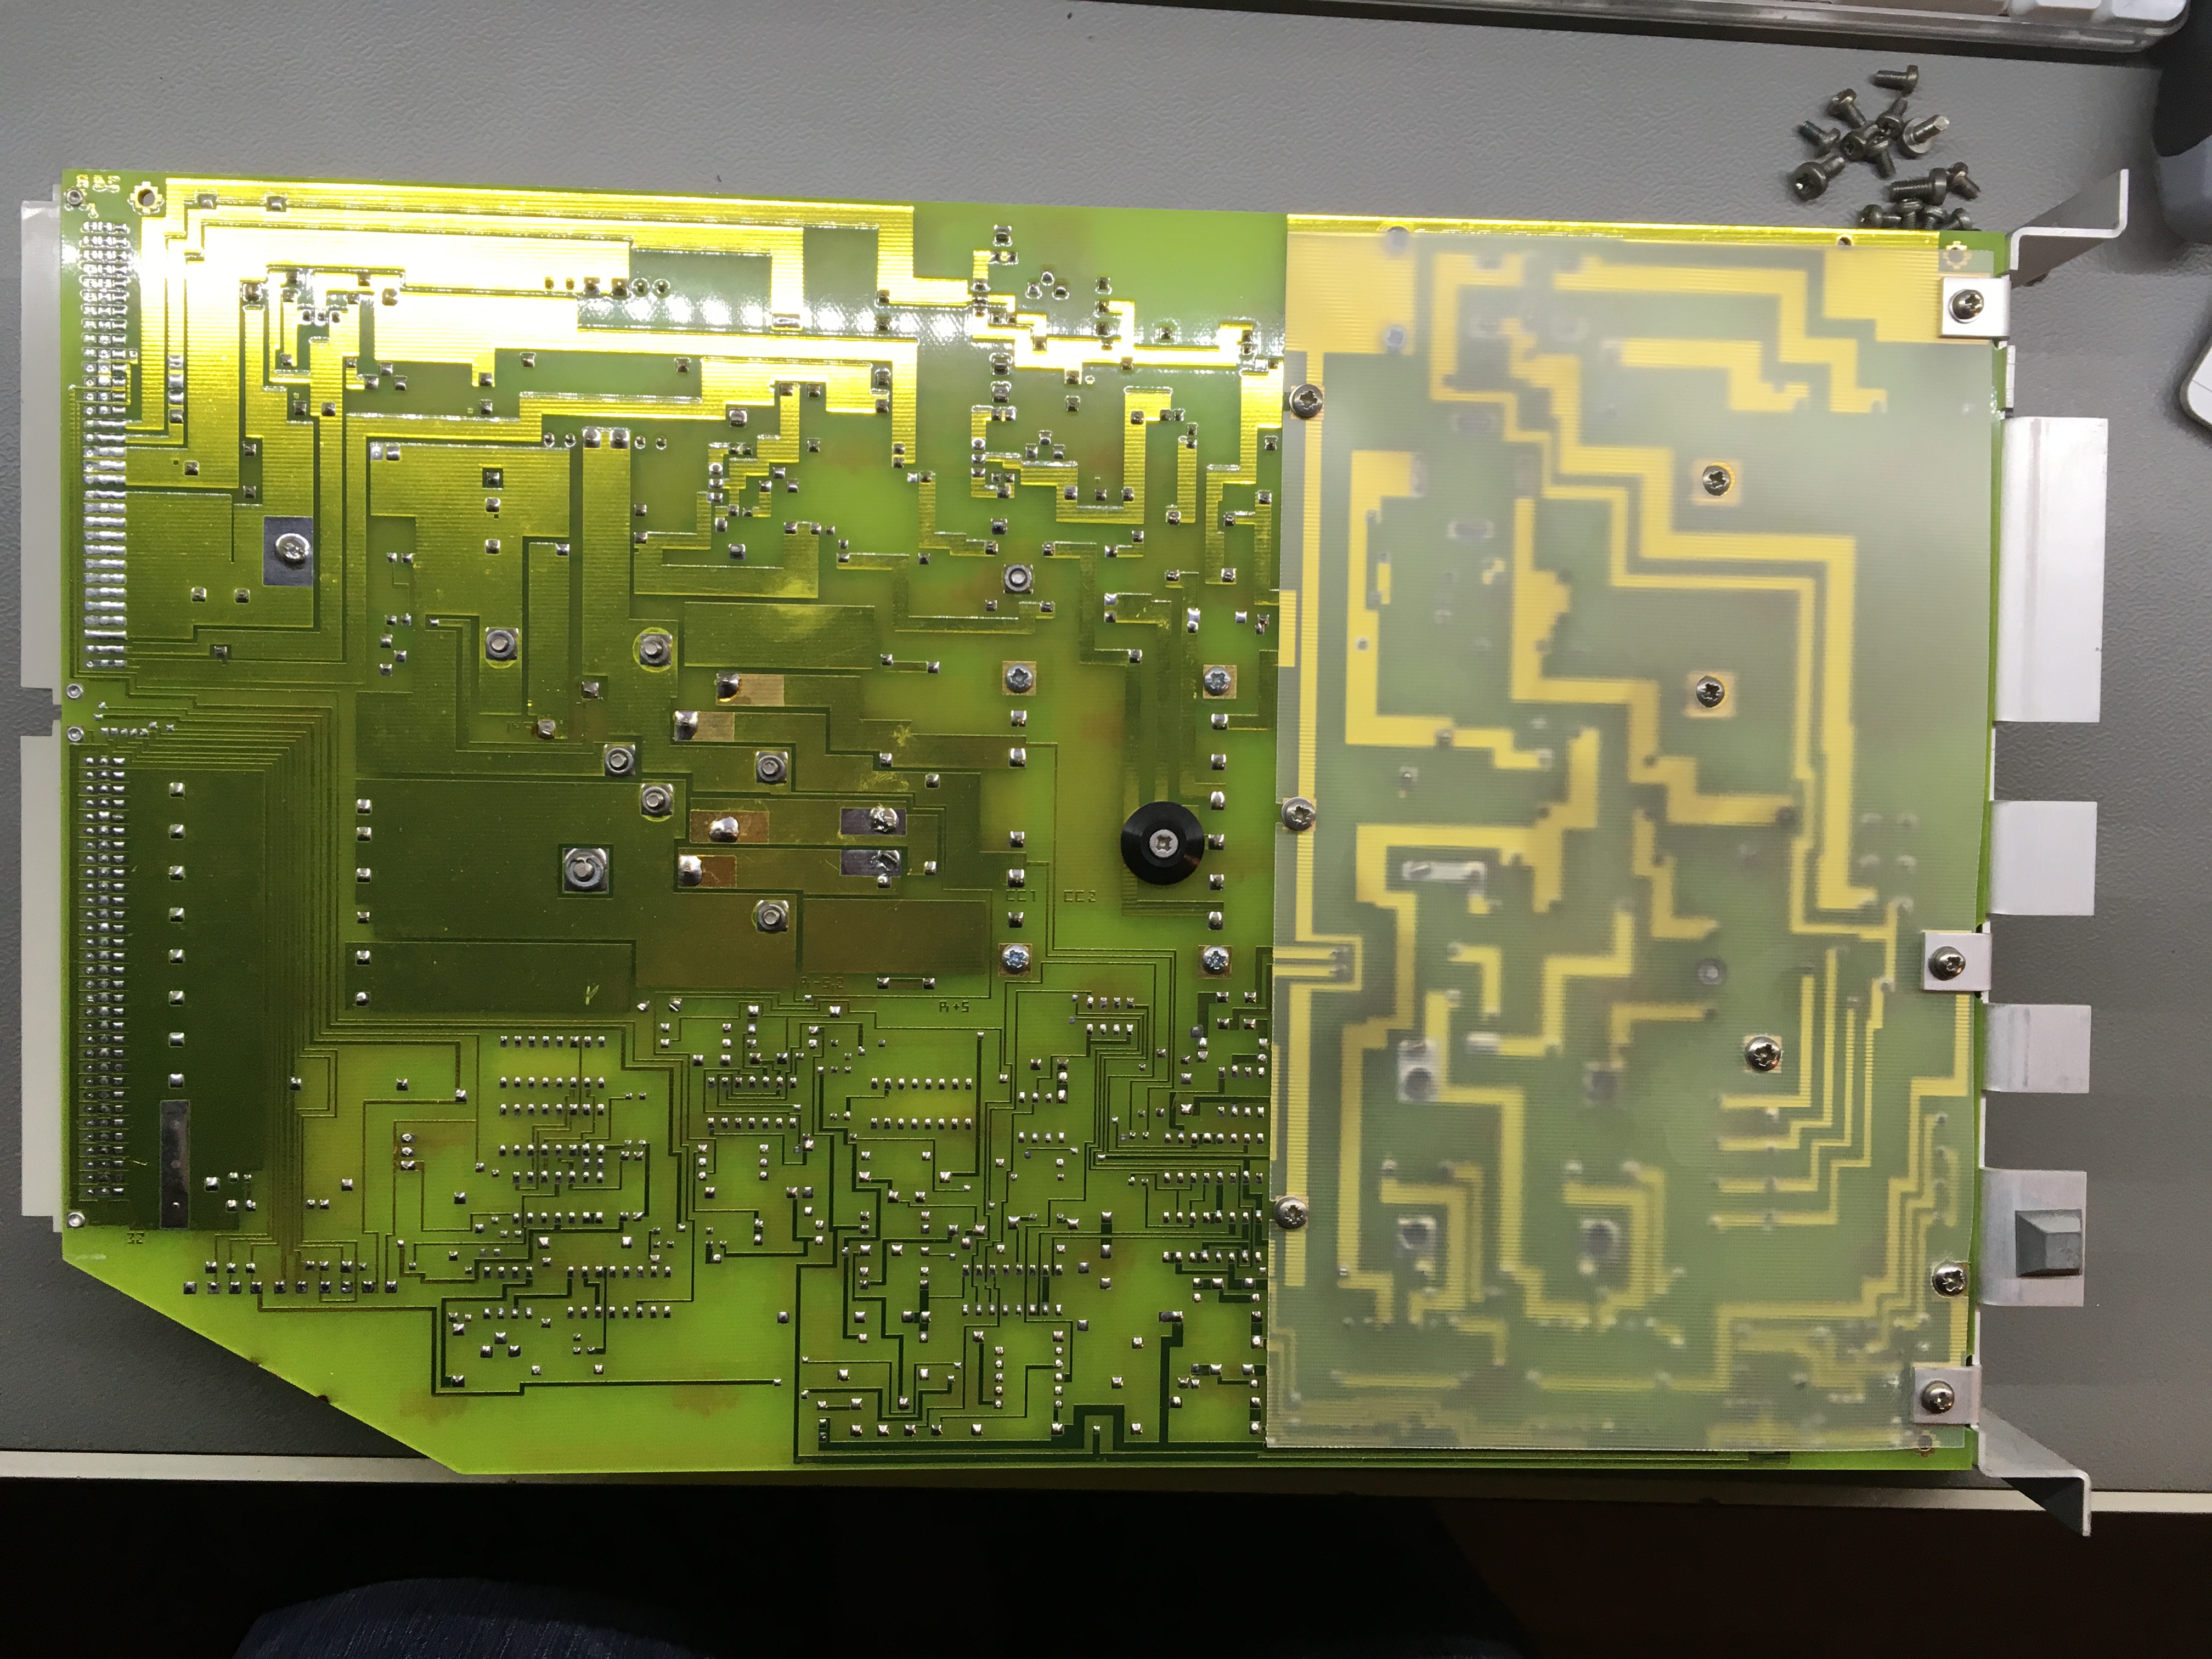
Re-seating the heat-sinks
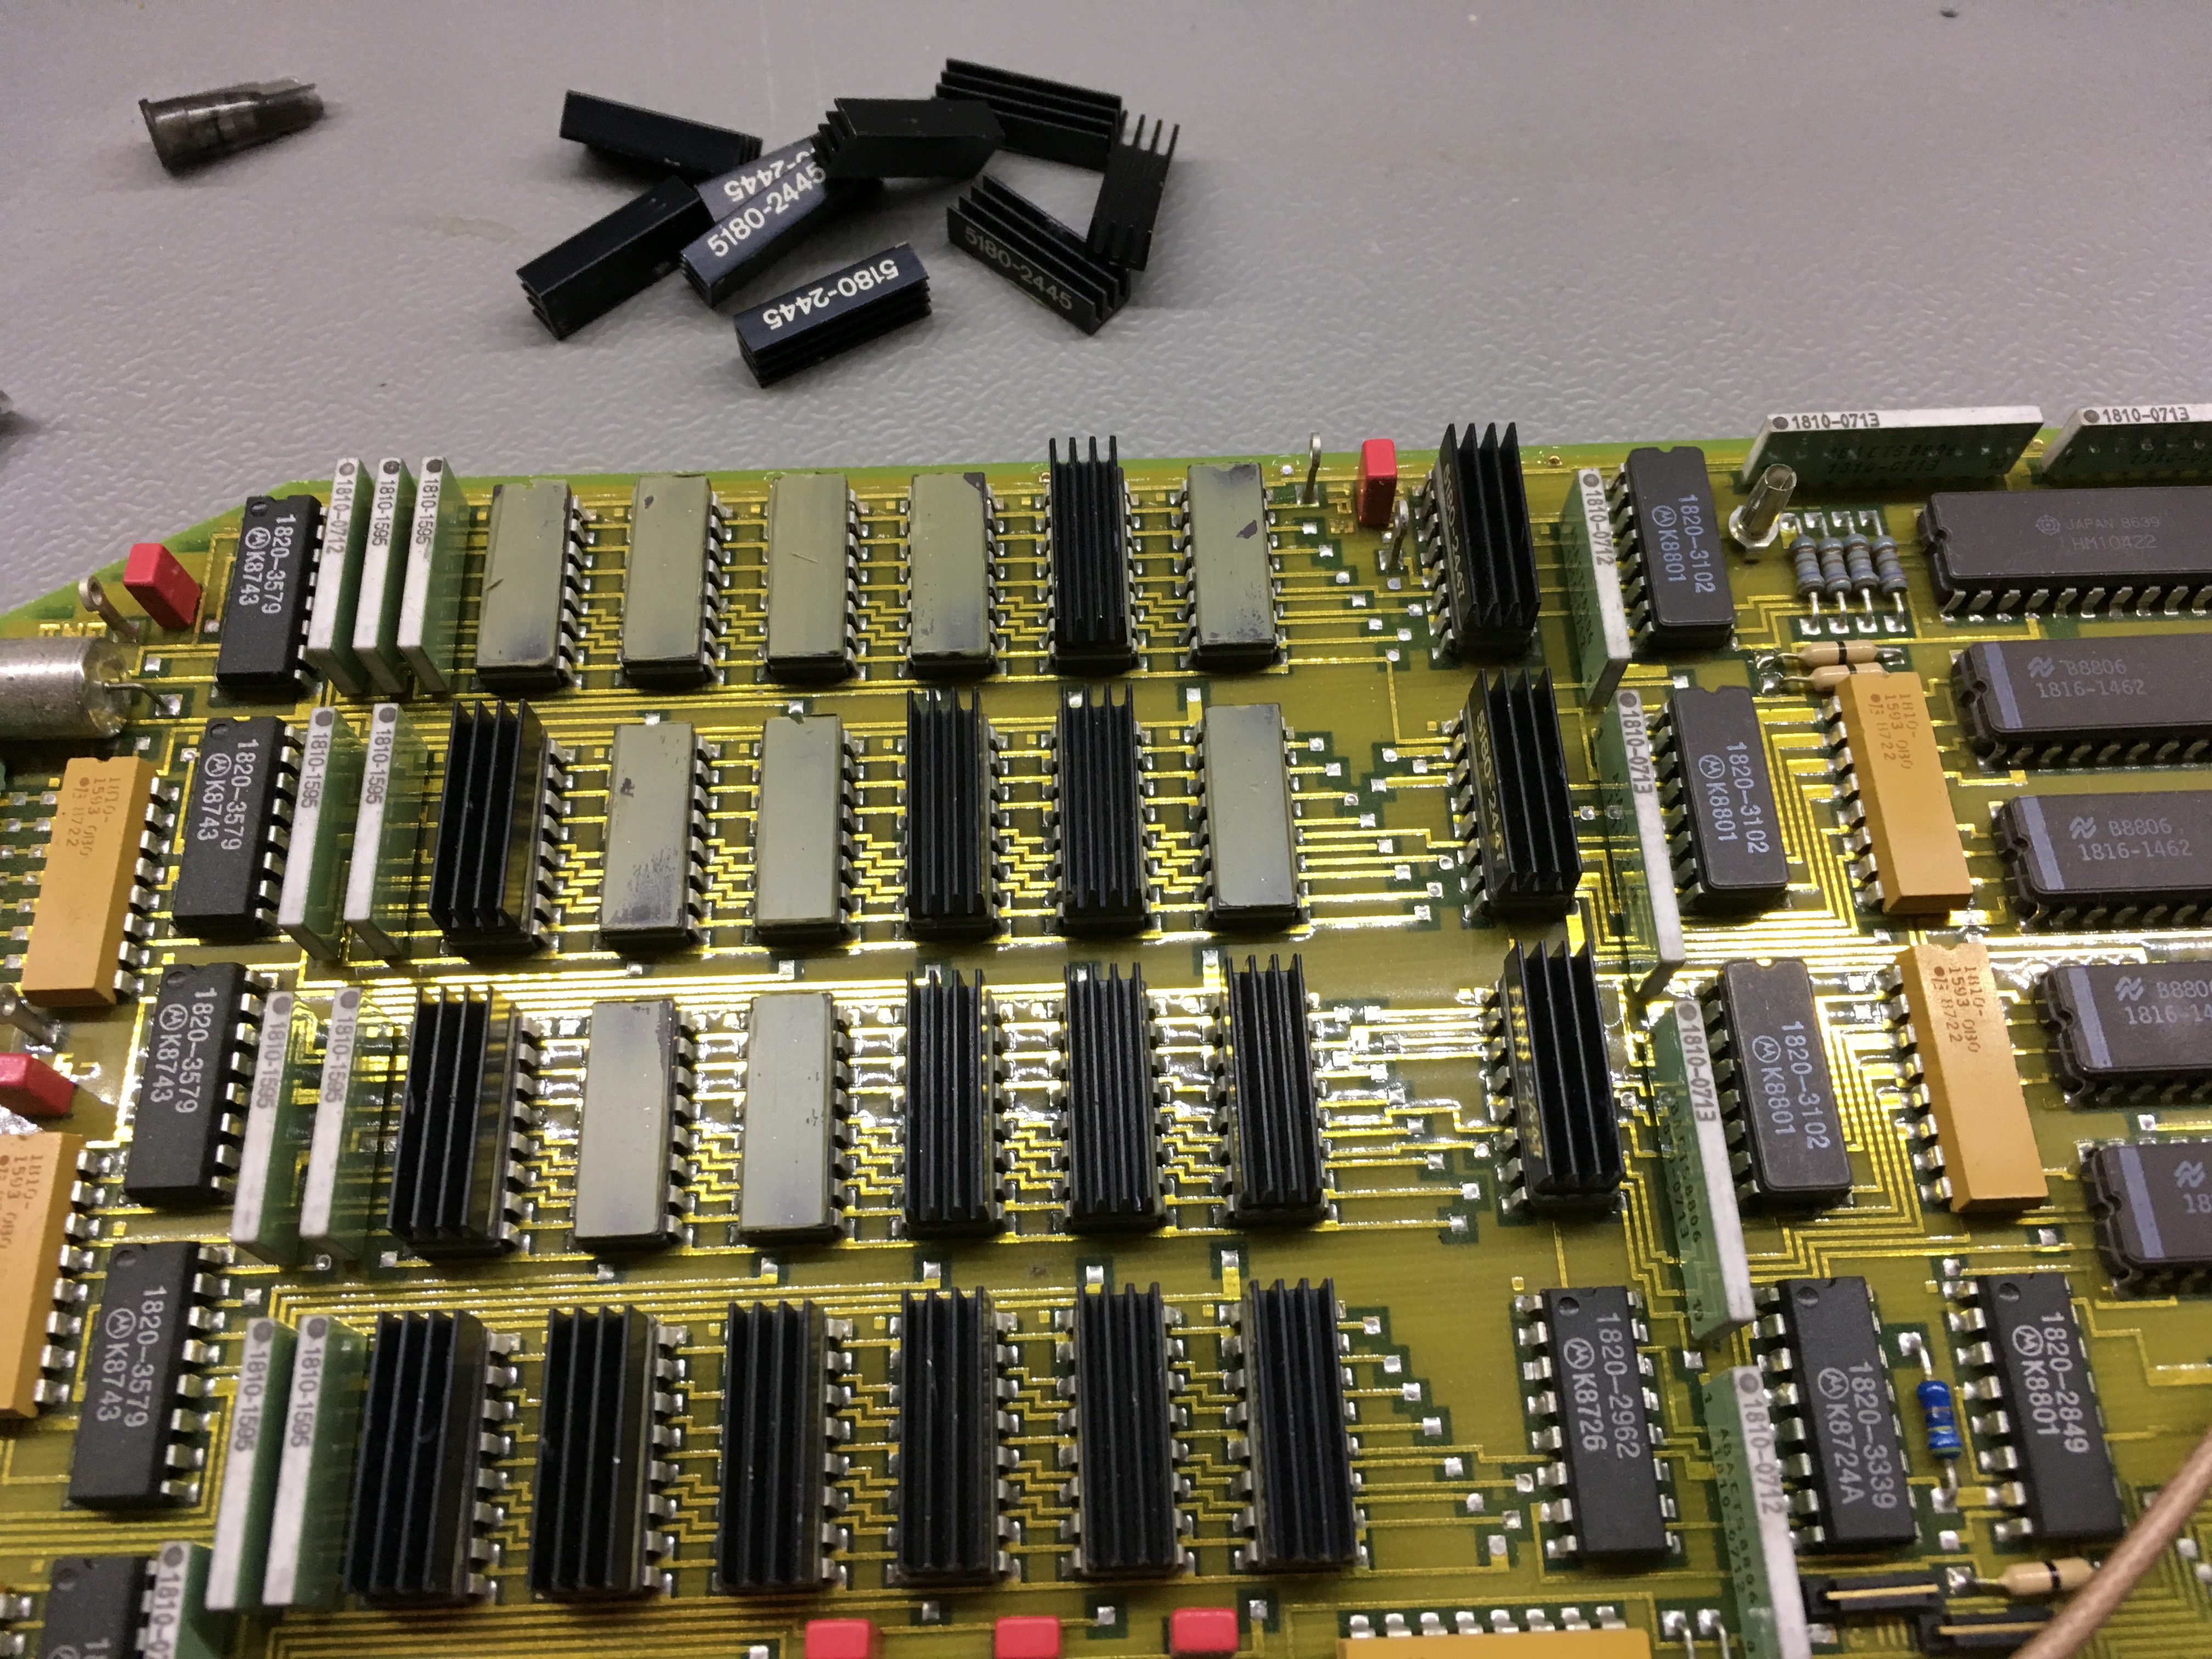
The first time I took the first HP8175A apart after a filter cap had blown, I noticed a small black metal piece fall out of the machine. At that time I didn’t had a clue where this little heat-sink was coming from. I didn’t had take all the board out yet. But once I did, I find that the processor board was missing two heat-sinks. I started to feel if the other heat-sinks where still glued, and just touching the heat-sink made them come loose from the IC’s.
So I used some thermal compound to glue them back on again, and since one was missing I ordered a heatsink for a DIP-16 package online, and put that one in place as well.
Replacing the NiCad batteries
The HP8175 have a 2.4V Nicad rechargeable battery which holds the configuration. This battery doesn’t hold any calibration, so it’s easy to replace them. However finding a exact replacement is not possible. (There is some New Old Stock (NOS), but since these batteries are very old, I don’t recommend buying and using them.
So I ended up buying four 1.2V batteries, and put two batteries together in series. (so I created 2 sets of 2 batteries) I cleaned up the board carefully making sure to remove any acid from the leaked batteries. This stuff will eventually eat it’s way through the PCB, causing a lot of damage. The best way to clean this is with vinegar. After that I cleaned the board with alcohol.
Cleaning up the front and case of the machines
I used some rubbing alcohol and other soft chemicals to clean up the front and the cases, and after that the machines looked a lot better. I also used some double-sided tape to stick the keyboard cover back on. And at this points both of the HP8175A are ready to be used again.
All in all it took some fair amount of time to get these machine usable again, but it was worth the effort. Especially taking into account that these machines are fun to use and to play around with 🙂
Hi. I was wandering how you figured out how to use the arbitrary waveform generator. I tried some example I found in a hp journal from 1987 but nothing seems to be working.
What doesn’t work ? Does the waveform appear on the screen, or doesn’t the generator output any signal ?
Hi, Thank you so much for sharing your experience with the HP 8175A, you are one of the few online who have posted about it and it serves as a great resource for others who have the machine.
I powered my unit on recently and it has developed a problem which I hope to resolve, however it is difficult without any service manual, it will no longer display any graphics, all other functions work except for graphical waveform editing and displaying.
I would love to get hold of the service manual for this, I did email Keysight about this as you suggested, however the response I got back was not as helpful as yours;
Keysight’s reply:
“I am sorry to inform you that we do not have a more detailed manual apart from the one available on the website. Since this model is obsoleted only limited resources are available through the website.”
Would you be willing to share the service manual?
I’ve send you an email, so you can download the service manual. If anyone want’s the service manual for the HP8175A then please drop me an e-mail so I can send you a link where you can download it.