An attempt to fix the primary side of the PSU
I started to measure and test several components, and found some diodes which where shorted. Replaced them. However I could not measure any voltages after the full bridge rectifier. Some components are mounted on large heat-sinks. Removing them to get access to the components and be able to read the markings or to test them out of circuit, would be a pain.
Fighting with this power supply for a couple of evenings, I decided to take another route. In the meantime the alternative PSU was delivered. After comparing both the PSU’s together I noticed that only one voltage rails was different.
Modifying an PSU
Since fixing the primary side of the PSU would be very difficult to do, I started to look at the secondary side. Both the PSU’s are from the same series. So I figured the manufacturer probably used a couple of zener diodes, and resistors to control the output voltage. So I started to swap out diodes and resistors which where different and which I could relate to the voltage rail I wanted to adjust.
The moment of truth
I powered to PSU up, and measured all the good voltages (they where a little higher, but that’s okey since no load is attached.). I decided to go for it, and placed the PSU on top of the chassis, so I could test the PSU without going through the rather complex method of installing the PSU.
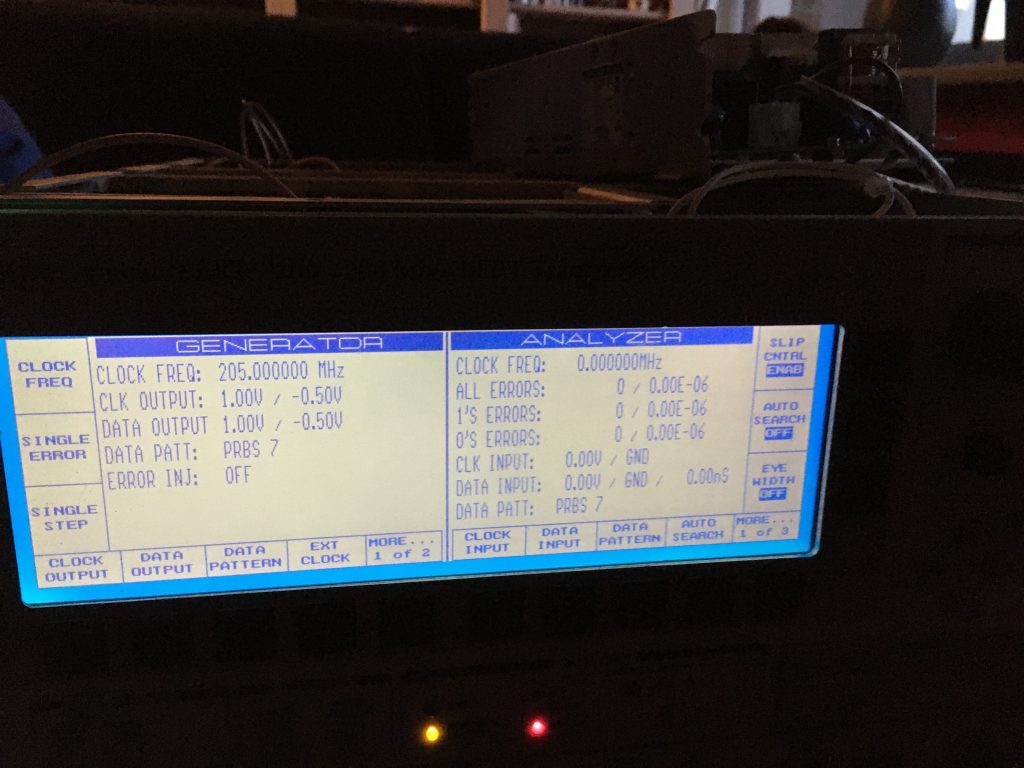
And after connecting the main power, and flipping the power switch, the PB200 came back to live.
A few quick tests showed me that the generator and analyzer are working without any problems. And I refitted the PSU back into the PB200.
