Upgrading an Imac 2013 with SSD and 16GB RAM

My late 2013 Imac needs fixing

I enjoy my Imac (iMac Intel 21.5″ EMC 2638 ) for a several years now. But since a few years disk warrior gives me warnings about “bad blocks”.  But my Imac keep working well, knowing it’s kind of a time bomb. Knowing I must or replace the hard drive, or buying a new Imac.

Repairing or but a new one ?

After running for a more then year with a bad hard drive , I noticed my Imac gets slower. The reason for this is, that with every write action, there needs to be a recalculation and reallocation of sectors on the hard drive. So I can no longer postpone the decision of  repairing or buying a new Imac.

Repairing a Imac is possible, but it means removing the glass from the aluminum frame . Some models have magnets, and on some Imac models the  glass is glued. So repairing or upgrading a Imac is possible, but not an easy task. There is always the possibility of breaking the glass, and that will be costly.

On the other hand: buying a new Imac is very expensive. And to be honest, I don’t think that Apple hardware is getting better. So I don’t feel right about the high prices of Apple hardware. I really believe they are overpriced.

When I take the pragmatic approach, it’s worth taking the risk of opening my Imac, spend a few 100 euro’s on it. And if it all goes wrong, I end up buying a new Imac. Another strong point is: I really like the idea of repairing stuff, then throwing it away. Looking at the specs of my Imac I don’t need a faster CPU. More RAM would be desirable, but for the rest I’m quite happy with it.

So finally I decide to bite the bullet, and repair my Imac, and upgrade it as well. The plans are:

  • Swap the existing bad hard drive with a SSD
  • Upgrade the 8Gb RAM to 16Gb RAM

By replacing the hard drive with a SSD I gain more speed, since the SSD is way, way faster then the existing 54000 rpm hard drive.

Since I do a lot of 3D printing, I use 3D modeling, and slicing. And I use other tools for designing schematics, and PCB’s. So with some extra RAM my Imac is ready for a couple of years to come.


Repairing my Imac

To repair my Imac I ordered a couple of things:

  • The SSD I choose to use is a Samsung 860 EVO 1TB SSD
  • The RAM in this Imac model (late 2013) is 2x 8GB (16GB) 1600Mhz DDR3L SO-DIMM

And I used the following tools and guidelines:

To prevent any damage I used a anti-static, ESD safe mat, and ESD wristband.

Replacing the hard drive

Getting the glass separated from the case was not that difficult to do.

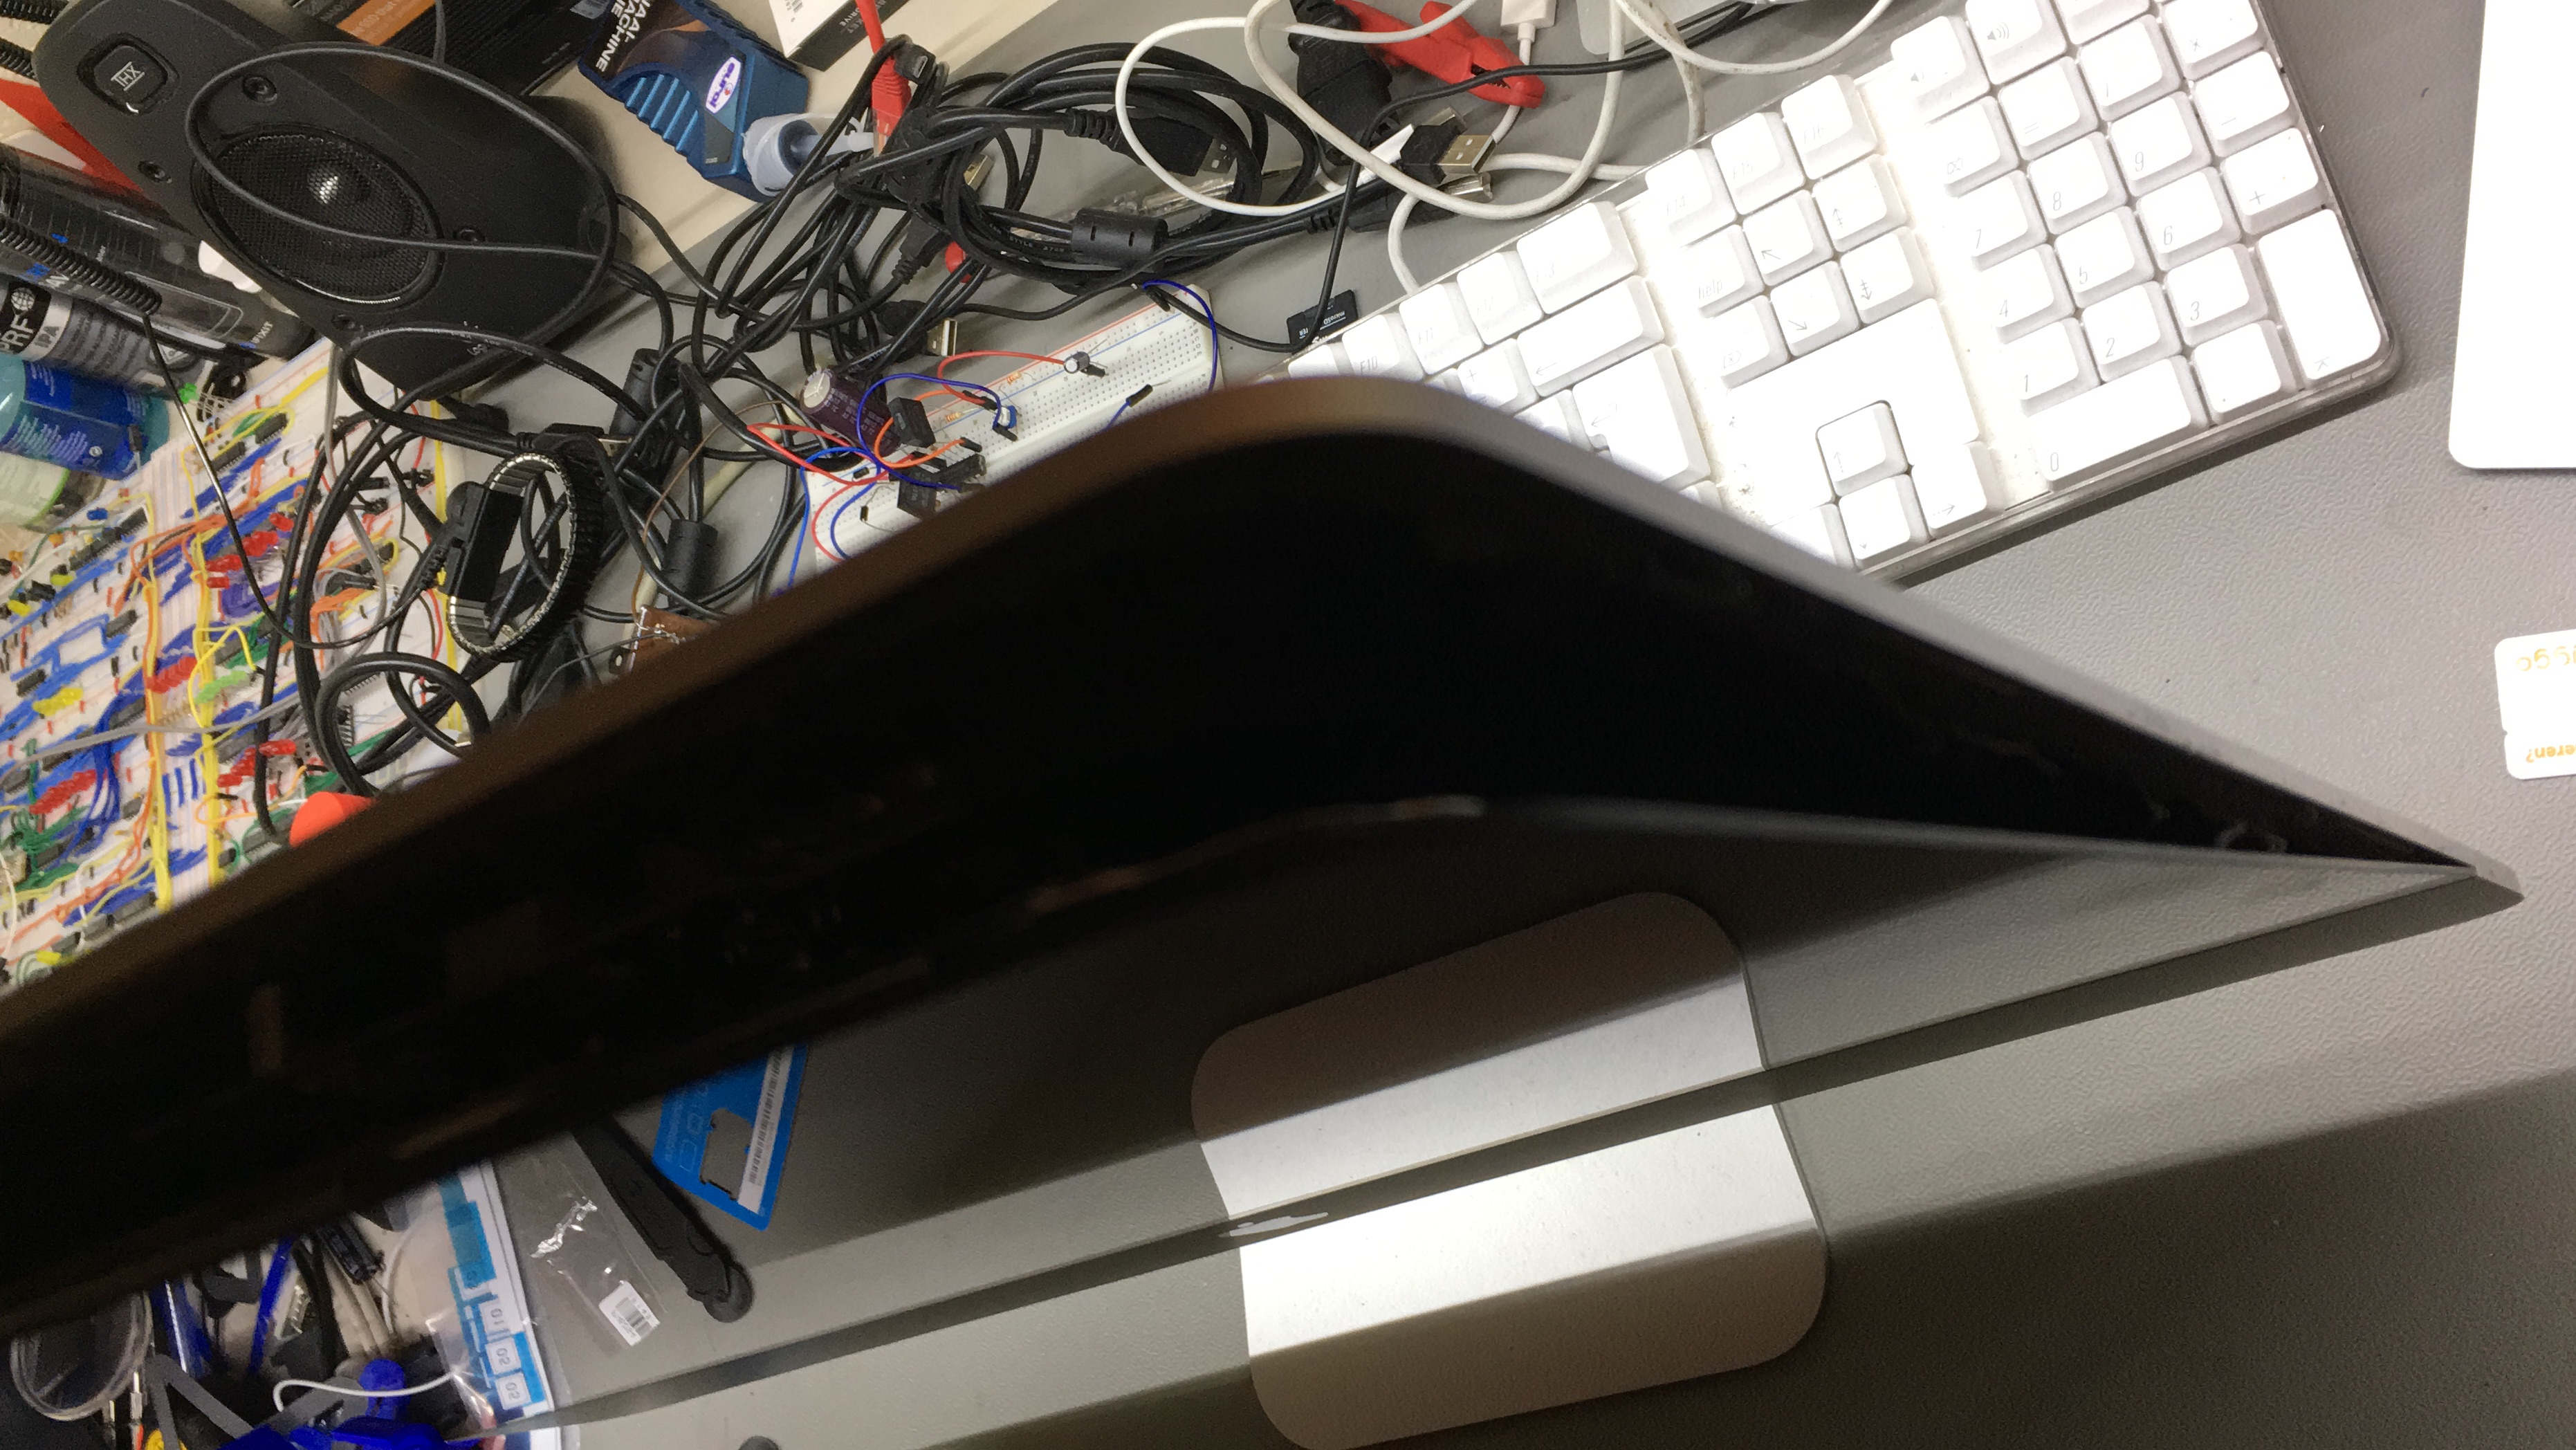
Before  I started I was nervous about getting to cut through the adhesive stuff, and removing the glass from the aluminum frame, but after all this was the easiest part. If your ever decide to do this, just take your time, and don’t hurry the process. I saw several YouTube videos’s and some use a hot air gun. I didn’t dare to use my hot air gun, afraid to damage the LCD, or any plastics that my hide under the screen. And with the Ifixit cutting tool, and two thin plastic cards, I got the screen remove in a couple of minutes.

The SSD disk installed. Care must be taking to identify the screws, since they have different length.

Once I carefully removed the screen, replacing the hard drive with a SSD is just a breeze. The only challenge is getting the short SATA/Power cable to line up. I just unscrew the left speaker, to give me some extra room, and that worked out well. However, as I did find out: when upgrading the RAM, the drive must be removed. So if you’re planning to upgrade the RAM, just start with that, and place the drive as a last step.

Upgrading the RAM

Upgrading the RAM in a late 2013 21.5″ Imac, means removing almost everything

Well as it turns out, replacing the RAM is not for the faint of heart. It’s possible, but you need to take out almost every part. To upgrade the RAM you need to take out the motherboard, since the RAM module are facing to the backside of the Imac casing. And to take out the motherboard, you need to take out:

  • The power supply
                    • The FAN assembly
                    • The hard drive
                    • The hard drive tray
                    • Unplug the 4 mini coax connectors
                    • Unplug various other little fragile connectors.
upgrading the RAM is not easy, but with patience and common sense it can be done. Although looking at the parts you may wonder how to get it back into one piece again…

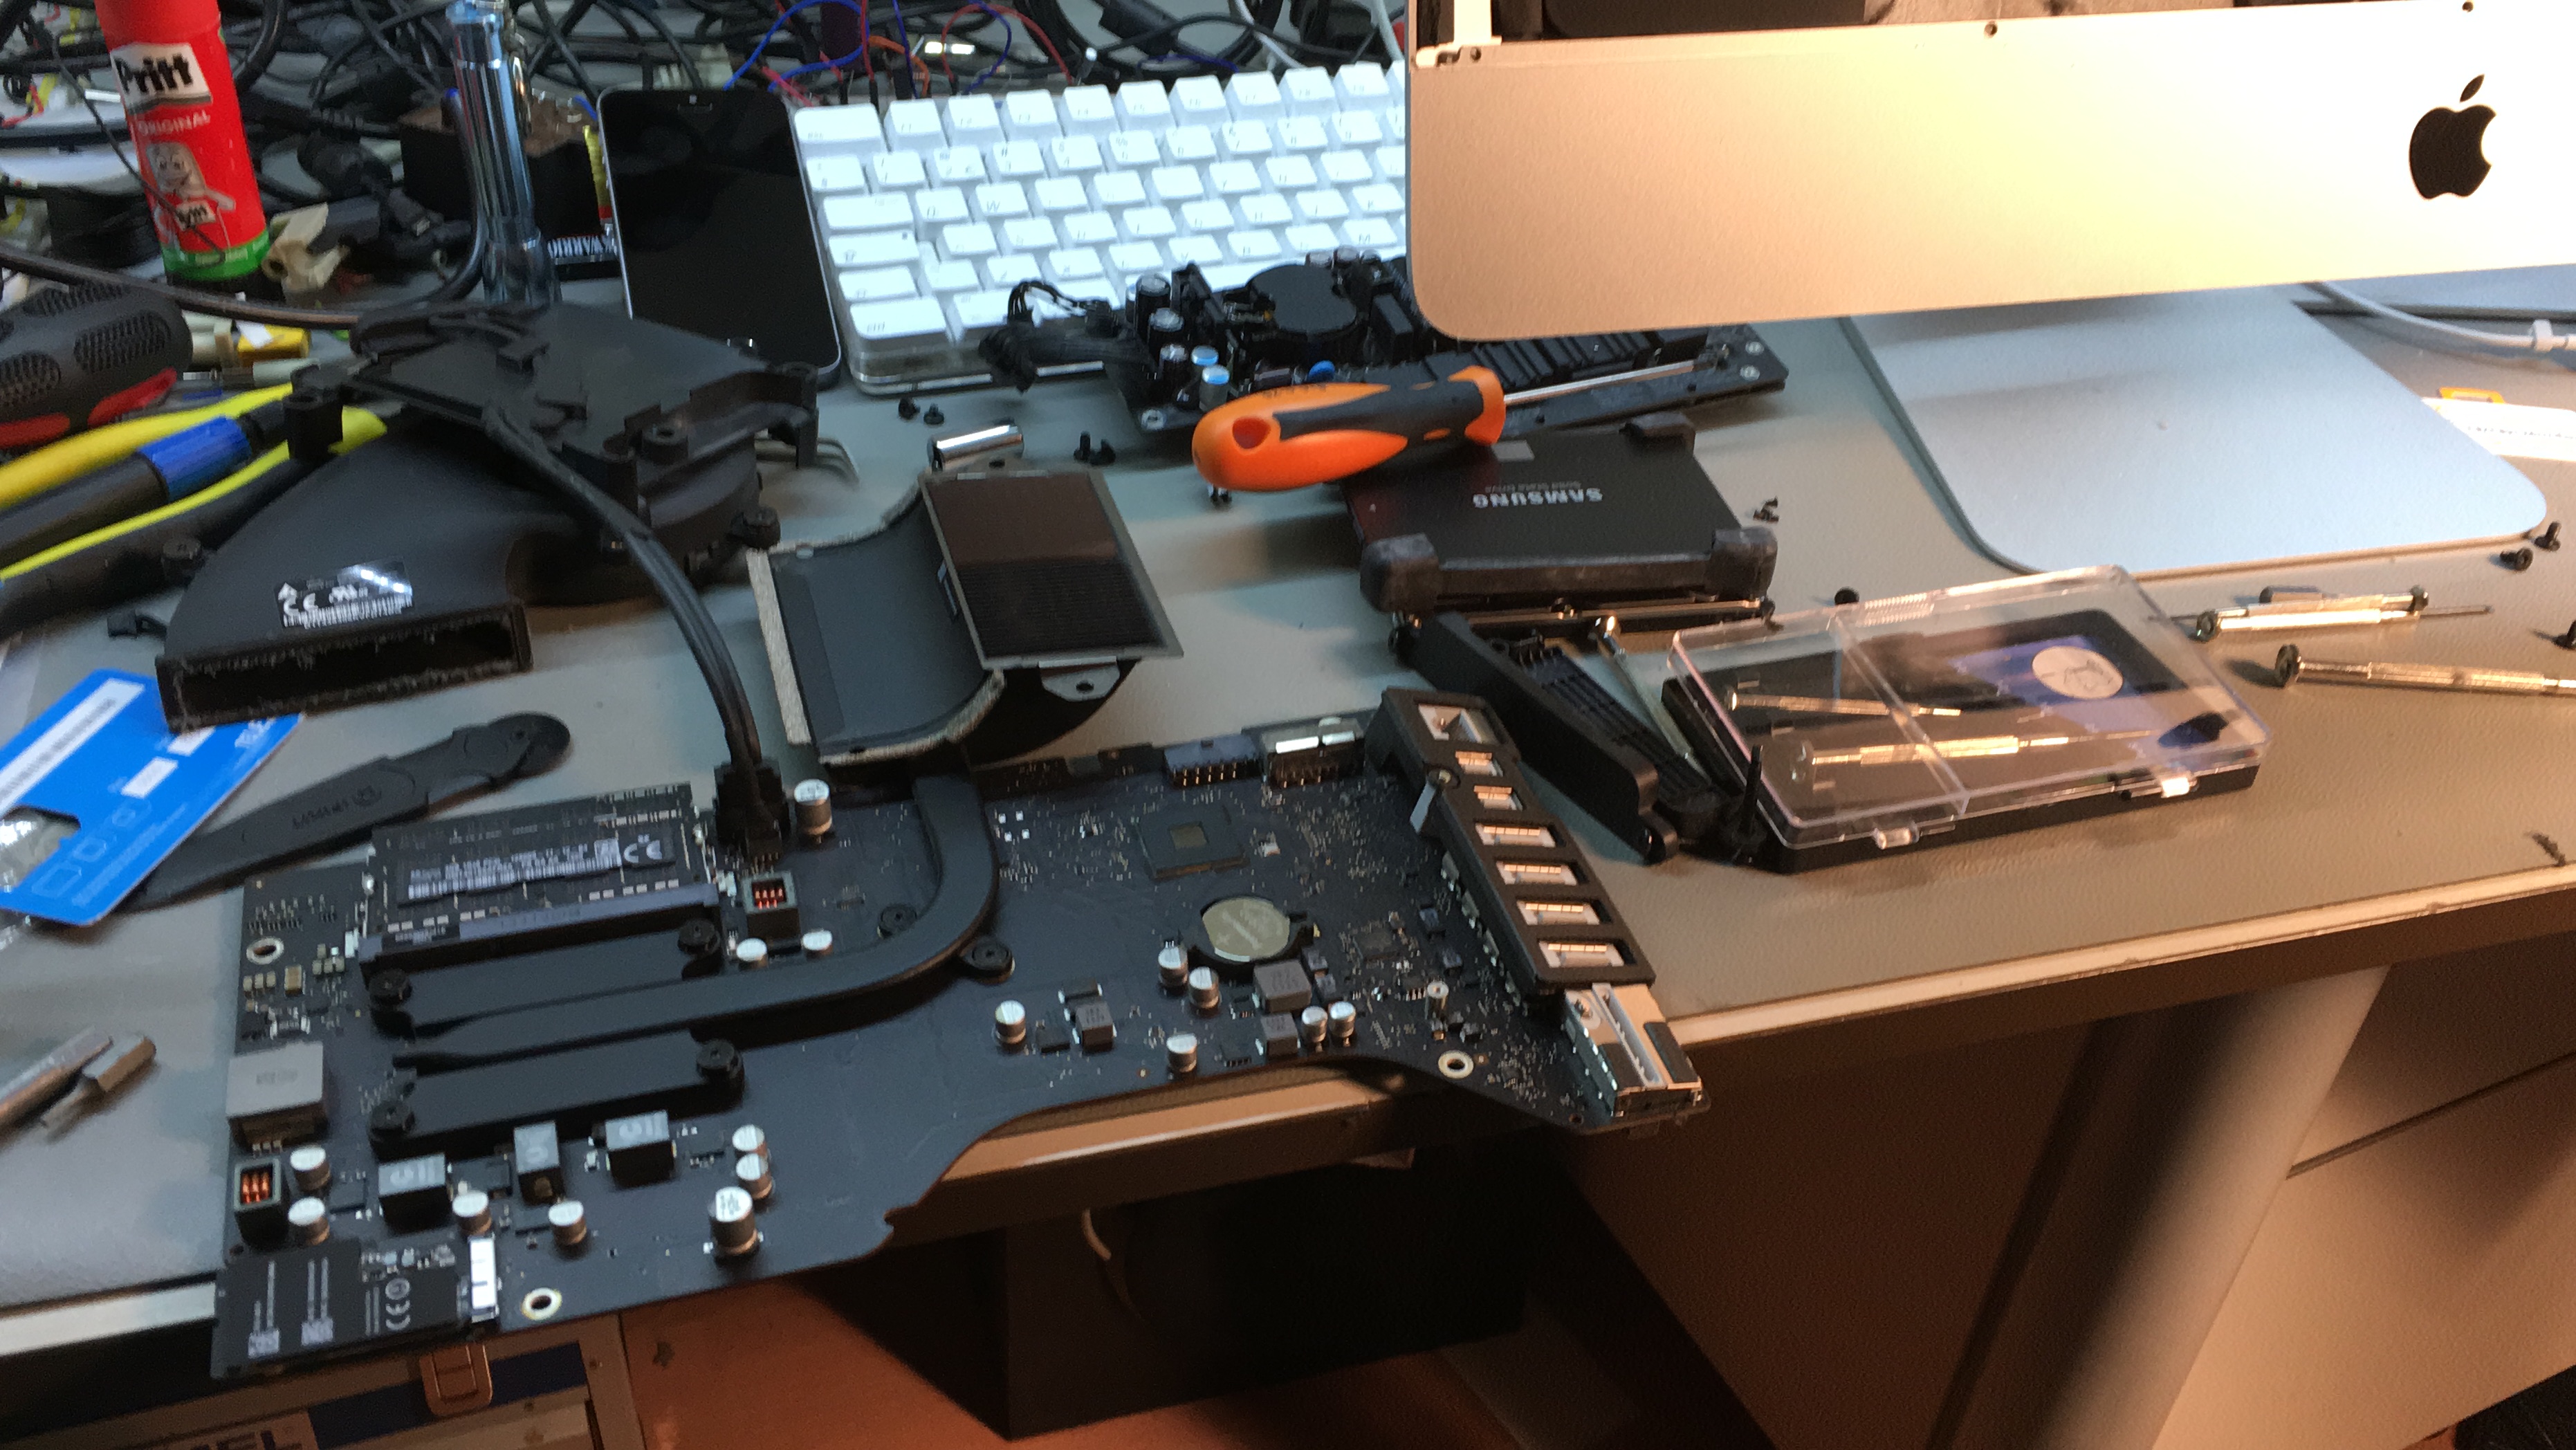
However by following the Ifix manual I mentioned earlier, I manged to upgrade the RAM modules. As by removing the glass, it’s important to take the time, and do it slowly, think about every step. Removing the fragile little connectors gently, don’t force anything.


Conclusion on repairing an Imac

After I took the decision to repair my Imac and performing the repair/upgrade I also had the chance to took a look at the engineering done by Apple. And I must say, that is impressive. A lot of engineering goes into designing a computer which is flat as the Imac. And the whole construction is clean, the cable are routed nicely, all the parts fitting perfectly together.

As with everything, in designing things like this, there are comprises. And one of the comprises is that with this limit space, it’s not easy to design something that is easily serviceable.

I also understand why Apple has service points, and don’t want a consumer to repair/upgrade their products. This means they have to facilitate for complaining consumers which break their product in trying to repair it, which eventually translate in much more expensive products..

And looking back at all the years I used this Imac, without any problem, this repair was worth it. So at the end, putting a little effort into it, and learning from it.. is not that big of a deal. I guess at the end it’s about making the choice of “taking the easy way out” or “willing to put effort into it”.

However, Apple could provide manuals to fix/upgrade their products under a “provided as is basis” and “no warranty blablabla” It would contribute to a product which can be reused, and that at end will make or mother earth much healthier. But I guess as long we want all the latest, fasted bling bling, companies like Apple/Samsung and et rest of it are just facilitating it. In that regard I really like that sites like Ifixit exists 🙂

Closer look at the HP 8175A

The specifications of the HP 8175A

In the first part of the article about the HP8175A I talked briefly about what this device does. In this part 2 I’m taking a look at what the HP8175A is capable of doing. Before jumping right in, a short look back at part 1. In part 1 the HP 8175A released a lot of smoke, and the fix was easy.

However I realized that fixing these complex devices is almost impossible without spare parts. So I bought a second unit. As it turns out, the seller from which I bought the first HP8175A, had a second HP8175A to sell.

Since I let the seller know the magic smoke escaped , I could pickup the second unit really cheap. By arrival the device powers up, but nothing appeared on the screen. After reseating the boards, the device seems to work. I didn’t test all the outputs, but at least it starts up without problems. Of course I took out the RIFA cap, before it could explode 🙂

So now on to the specifications of the HP 8175A:

The HP8175A can be used in “parallel or serial” mode. In parallel mode the speed is 50Mhz. In serial mode, the channels runs at a speed of 100Mhz.

The “Operating and programming” describes the HP8175A as:

The 8175A is a digital generator which can deliver parallel and serial data with programmable patterns pattern durations. It can interact with a device under test and so provide simulation of a wide range of data paths in digital systems.

Per channel:

Parallel data patterns: 24 channels / 1 kbit / 50 Mbit.                                        Serial  data patterns:    2 channels   / 8Kbit 100Mbit

The HP8175A uses virtual memory Expansion: 255 memory segments, can sequence between 2 to 1024 patterns ea.

The patterns durations which can be programmed: 20ns to 9.99 seconds range / 10ns resolution. individually programmable.

Interface with the Device Under Test (DUT) 8 bit trigger / 8 flags.

Two HP8175a  device can be connected together in a master/slave operation.

Most of the logic families are supported: TTL/CMOS variable, ECL fixed.

The options available are:

001: Fine Timing (100ps resolution on four channels)

002: Arbitrary waveform generator.

D04: Deletes stands POD set

908: Racl Flange kit

910: Additional Operating/Programming/Service Manual

So this is quite a list. When designing digital circuits this devices is very useful. Since I have a couple of Logic Analysers in my lab, the HP8175A is nice instrument to have.

The HP device in action

Since this is a complex device which is very versatile, demonstrating the device is difficult. Even if I made a video demonstrating the device it will be long. So what follows are a few screenshots showing the device in action.

Here you see how to setup a pattern. Each bit can be set for a channel. And it’s also possible to set the duration.


It’s also possible to use a more graphical view to enter the digital waveform.


Since one of my HP8175A has option 002 installed, arbitrary waveforms can be created. This can be done in a kind of a program language, where mathematical functions are easily selected, and for loops can be used. In this case the “sin” function is used to create a sinus waveform.

Here the HP8175A in action to find a fault on a C64 PCB board. The HP8175A is used to inject digital signals onto the databus and address bus, and a HP 1670G Logic Analyser is used to read the bits.


In the upcoming part 3 I’m going to repair some of the issues the devices have, and refurbish the devices. And I also let you know how to get the service manual for the HP8175A. The service manual is hard or impossible to find online, and if you want to buy the Service manual the prices are going through the roof. I’ve seen hardcopies sold for $100…

Adventures with a HP 8175A Digital Signal Generator

The HP 8175A Digital Signal Generator

In the next couple of articles I’m going to take a look at this specialized piece of equipment: the HP 8175A digital signal generator.

The HP 8175A is a real best, it’s big, and weights a lot (about 17 KG). But it is a very nice piece of equipment to have in a Electronics LAB, especially when doing digital stuff.

The HP 8175A has 24 channels which can generate digital signals. And with option 002 installed arbitrary waveforms can be generated.

So I was surprised to find a listing for a HP8175 on Ebay located in Poland, where I could pick it up cheap. These devices are a special kit, and often sold as “untested” and therefore it’s possible to get a good deal on those devices.

Disaster strikes (or when things go boom in the LAB)

Once it arrived I did some checks before plugging in the power, and switching the device on: First I give the device a good shake. Not easy to with a big devices as this, weighting a 17Kg, but I managed it , and no rattling sound. Which is a good sign. Next I checked the voltage-line settings, and as I expected this was set to  240Volts.

Also very good. So at that point I plugged in the power, pressed the on button. And without any problems, the beast came  alive.

After scrolling through the menu’s a heard a hissing  noise followed by a loud bang. And the next thing I noticed was that a lot of smoke was filling my lab.

I switched off the HP8175A and unplugged the mains cord form the device.

The smell, was just horrible. It took day’s before the smell was gone, anyway I  opened the device which was kind of a puzzle since I don’t have the service manual for it.

So I used the tactics: See a screw: remove that screw. Not alway’s the best practise, certainly not in this case, this device got a lot of screws. And I mean a lot. But finally I got inside and again I was impressed by the build quality as I aspect from these old HP devices. The power supply is completely shielded. Every board is connected to the main motherboard, and once a metal plate on the back is unscrewed, giving access to the POD connectors, each board can be slide out of the chassis.

However the metal plate on top must be removed to gain, the rod to the power button  must be removed to allow the power board to be slide out.  After taking the power board out I could not see any damage. And a aspected, a filter cap has blown. These caps are famous for letting the magic smoke escape: RIFA cap’s. These caps over time get little cracks in their plastic housing, allowing moisture to get into the capacitor, which eventually will let out the magic smoke, with a bang.If these caps go..

They go violently. As I noticed. Since these are just filter capacitors, the device can run perfectly without them. Of course these filter caps must be replaced, but it’s not a problem to remove the cap’s from the Power Supply. And after de-soldering the cap and putting back the HP into one piece, I finally got to play with the device.

In part 2 of I’m going to look at what this beast can do.

Password recovery on SRX 100

Password recovery on Juniper SRX 100

One day when I arrived at the office I did find a little blue box on my desk, which turned out to be a Juniper SRX 100 firewall. While looking at this tiny device I remembered that a colleague of my told me he would give a Juniper SRX to me.

And since I really like hardware, even the small boxes 🙂 I’m very pleased he brought this SRX, and give it to me.. So a big thanks!

Up for a challenge

At the end of the day, well actually later that evening, after I had something to eat, it was time to power the SRX on. The original adapter was missing, but since I got a box full of adapters , finding the right adapter shouldn’t be a problem. And sure enough.. after a while I came up with an adapter which delivers 12V and 1.5A.

The adapter has its ground (-) on the outerside, and the plus (+) on the middle pin.

The SRX needs 12V and 1A, so this adapter will do just fine. After searching for a console cable (a standard Cisco console cable just works) I connected the SRX, plugged in the console and power, and switched the device on.

After a few moments I was greeted with a banner, telling me the device once belonged to Ziggo. And that also told me right away that a simple password recovery is not going to work.

The SRX has a reset button, which can be used to reset the password..  However through a configuration setting this button can be disabled.. And since this device once belong to Ziggo, I know for sure that they disabled this button. Of course I tried the reset button.. and yes.. it did nothing at all.

So how to get into this device….

Using an USB device

Their is only one way around this.. and that is: installing / upgrading the SRX. This can be done by putting a Junos image (.tgz file) on a USB device, or putting the image on a tftp server.

The first problem is: how to get a Junos file.. Well I don’t have a support contract with Juniper.. so I had to google for a while but finally found a torrent file.

This is however not recommended, for one: it’s illegal. And two: the image can be tempered with, and could hide some nasty stuff.  I don’t like the illegal stuff, and in my lab I can perfectly live with the possible security risk.

Anyway, once I got the software I formatted a USB stick, and copied the junos image. After inserting the usb stick in the SRX 100 I interrupted the boot sequence. This can be done by hitting the spacebar while connected to the serial console at boot time.

Once the boot process was interrupted I was looking for a command “install”. Unfortunately this command was not present in the u-shell.

So I rebooted pressing the reset button while booting, and this activated a second boot partition. This version had the install command.

From there I tried o load the image from the USB stick.. but that didn’t work. Well not to worry.. I got a tftp server.. Copied over the junos image to my tftp server and started a install by tftp..


And that worked 🙂 After completing the upgrade.. I can logging with the root user and no password.


Hello world!

This site was previously known as “spacebugs”. That site has been taken down. Long story. One day I will come to that. For now, after years I’m back.  And I’m planning to get all the old articles restored to this site. And of course some new content..

Hades.